Printing Invoices
Last updated
Was this helpful?
Last updated
Was this helpful?
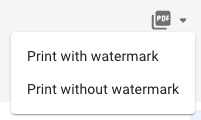
To print an invoice, open it in the document drawer, and click the button in the top of the drawer. If the invoice has status Assembled, you can choose between printing with or without DRAFT-watermark by clicking the little arrow down icon next to the button.
Aggregated line items
Some line items are automatically aggregated when printing an invoice:
Charter Hire lines
Lines on the document for the same rate and hire period are aggregated into a single line spanning the entire period.
The line will be generated using GMT or LT timezone, depending on the payment term set in the contract. If using local time, the timezone is that of the delivery port.
Commission lines
Lines on the document with same rate and business partner will be aggregated.
For time charter invoices, this aggregation can be turned on or off using the "Sum commission on hire invoices" setting.
VAT lines
Lines on the document for VAT that have the same VAT rate will be aggregated and added below the subtotal if using the new invoice template, or as separate line items in the old template.
A brand new version of the invoice printout has been made available from version 7.7 and onwards. To switch between the new and old version, toggle the "Use new invoice template" setting under Invoicing Preferences in System Settings.
The new template brings along a beautiful new design language, as well as the ability to choose and select which data is being displayed in the printout.
The logo will automatically scale while retaining the aspect ratio, up to a maximum width of 150px. The taller the logo, the further the receiving party address lines will be pushed down. We recommend a width of 90px and height of 70px, though you may experiment with different dimensions to suit your needs.
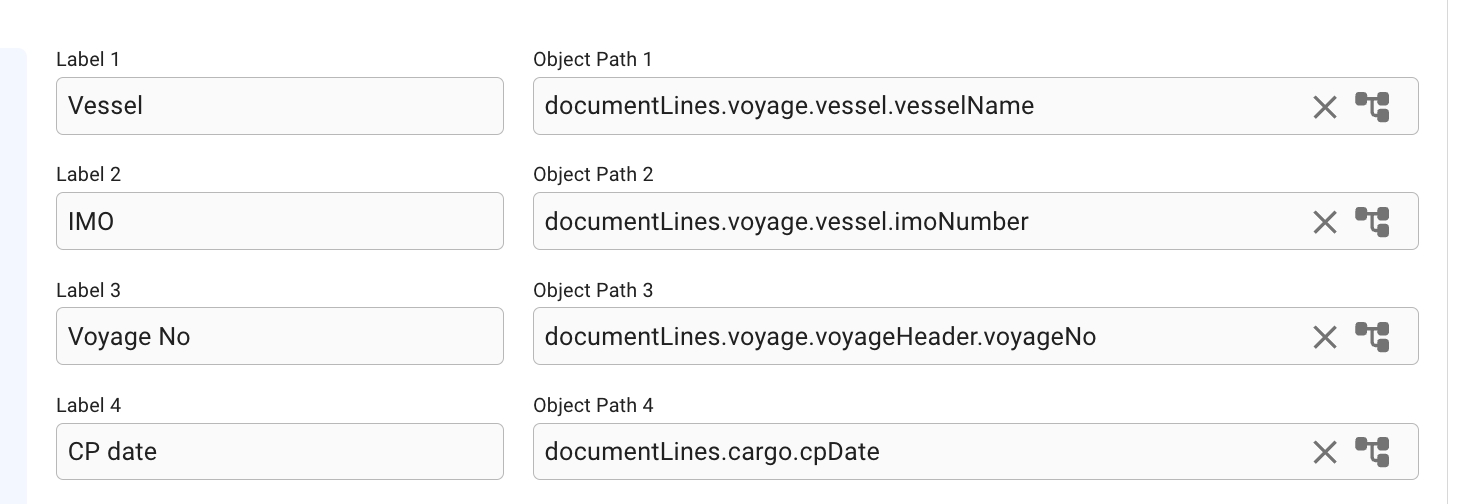
The new template allows for 2 sections where you can freely specify a label and accompanying value to be displayed. These values will always map one-to-one to the position they have been placed in.
If a value cannot be fetched from the specified object path, the label will be removed from the printout.
If the section has not been configured, or no values at all can be fetched, the entire section will be removed from the printout.
For instructions about setting this up, click here.
This section consist of a box that allows you to put up to 8 freely selectable values with an accompanying label.
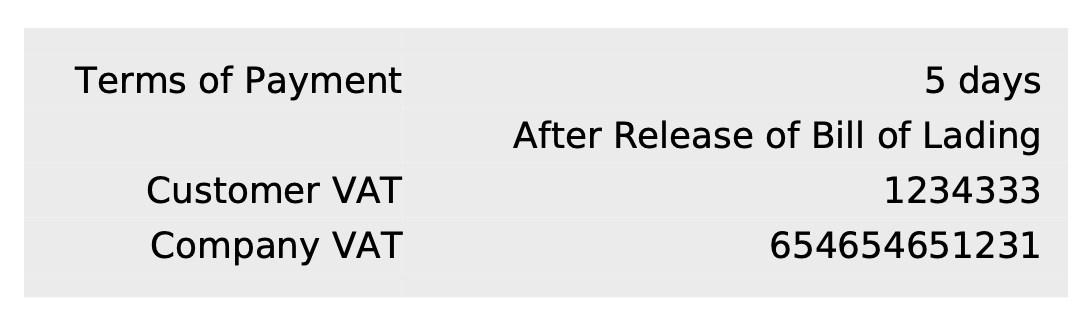
This section consist of a small box that allows you to put up to 4 freely selectable values with an accompanying label. It is positioned below the document lines and the RoE & VAT section, if it exists.
If your document currency is a different currency than the currency associated with the VAT country, then the PDF printout will automatically contain a section with the Rate of Exchange and the VAT in both currencies (this will happen, independent of if you are using the old invoice template or the new one).
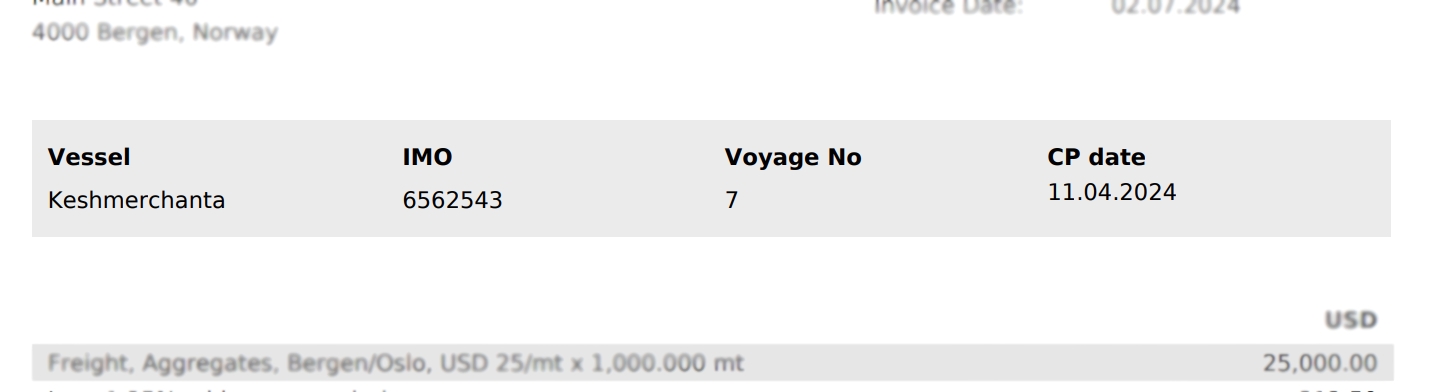
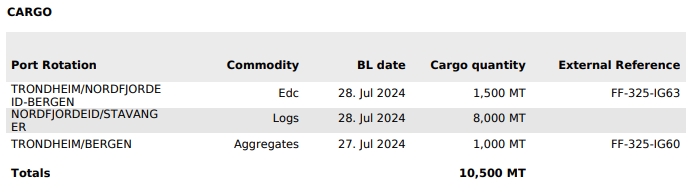
When printing a document related to a cargo Fixture, an appendix will be added to the invoice, detailing the cargos of the fixture. The list will show the port rotation, commodity, actual BL date, the gross weight of the cargo in metric tonnes, and any external references.
The old invoice template had a few settings that are now deprecated in the new template. The following settings have no effect if you are using the new template:
Show Company Address in Header
Show External Document No
Show IMO on Invoice
Show Business Partner VAT Number
Show Issuing Company VAT Number
To maintain a consistent layout when editing invoices in Adobe Acrobat, installing the correct font is necessary. You can download the font for installation here dejavu-fonts-ttf-2.37.
Download the font files. These often come compressed in .zip folders. In one .zip folder, you might find several variations on the same font, such as “light” and “heavy.”
If the font files are zipped, unzip them by right-clicking the .zip folder and then clicking Extract.
Now you'll see the available TrueType and OpenType font files: The list of fonts in the unzipped file. Right-click the fonts you want, and click Install.
More info on Microsoft Support
On your Mac, download a font file from Apple or another source.
Note: macOS supports TrueType (.ttf), Variable TrueType (.ttf), TrueType Collection (.ttc), OpenType and OpenType-SVG (.otf), and OpenType Collection (.ttc) fonts. Legacy suitcase TrueType fonts and PostScript Type 1 LWFN fonts might work but aren’t recommended.
Do any of the following:
In the Font Book app , choose File > Add Fonts to Current User. In the window that appears, double-click the font file.
Drag the font file to the Font Book app icon in the Dock, then click Install in the dialogue that appears.
Drag the font file to the Font Book window.
Double-click the font file in the Finder, then click Install in the dialogue that appears.
When you install a font, Font Book automatically validates or checks the font you’re installing for errors. Font Book also checks for duplicate fonts.