Creating a Webhook Alert
Open the Webhook Alerts module in the Alerts section.
Click Create
in the top right corner.
Fill in the required fields (marked with *) for each step in the dialogue.
Click Create.
Create Webhook Alert
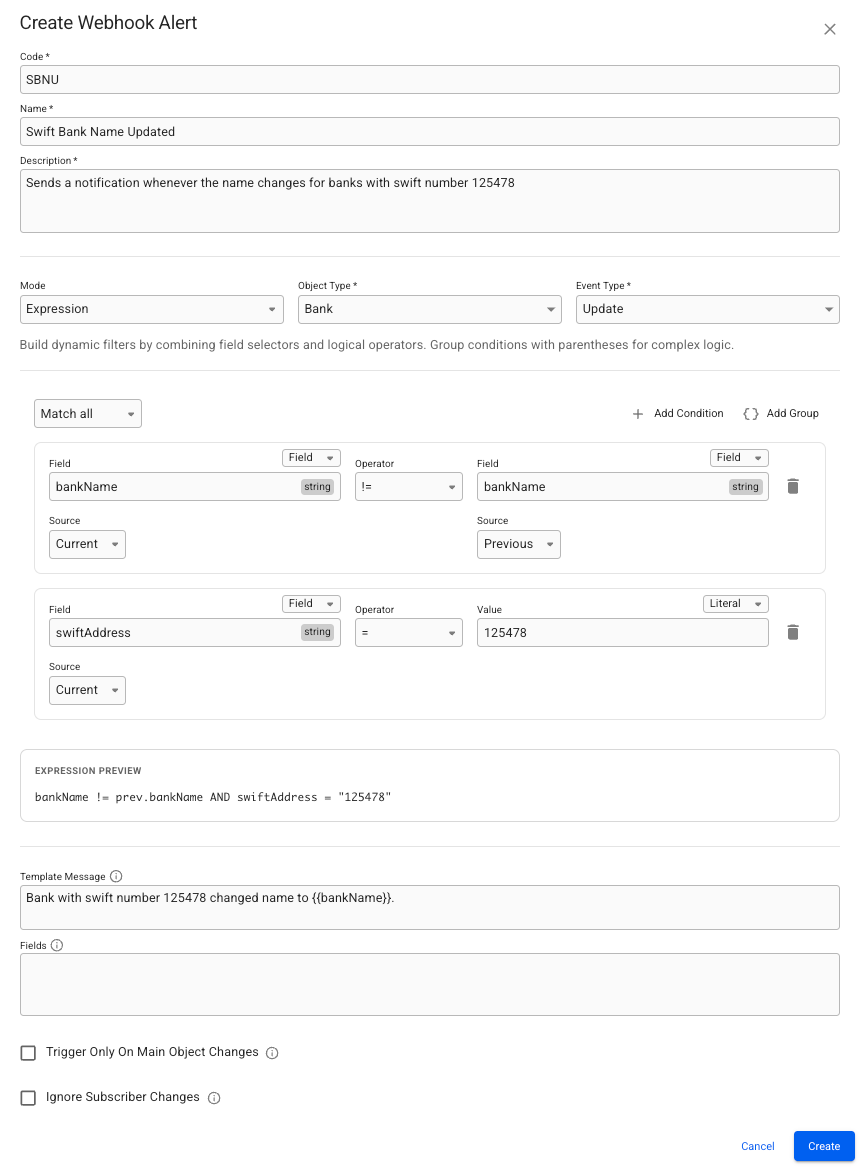
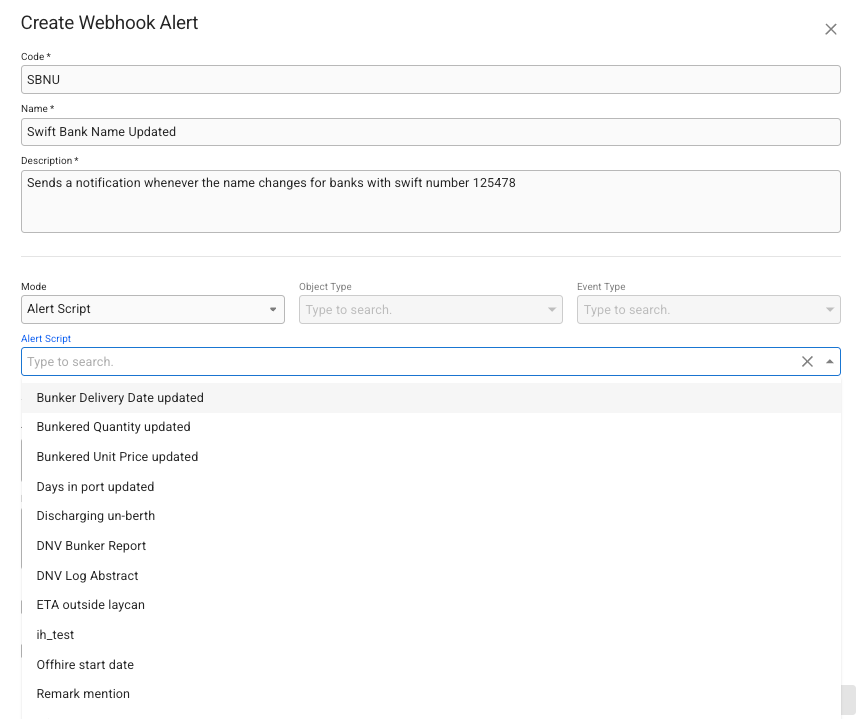
Below is an example of a Webhook Alert with an Expression requiring a change of the field bankName and the swift address to equal a number for a notification to be sent. The expression builder allows building complex conditions to limit the amount of notifications to be informative and wanted. Its also possible to create a Webhook Alert with an Alert Script as the trigger.
In Expression Builder, the Field can be selected with the Customize Columns modal, like in lists. Conditions can be customized in detail using grouping Add Group , to allow multiple combinations of AND /OR conditions. A simplified preview of the conditions are displayed at the bottom of the modal.
Fields limit what fields should be returned in the notification and can look like this {"fieldName1":"*","fieldName2":"*"}. Read more about how to specify Fields here.
Checking Ignore Subscriber Changes on an Alert means Webhook Subscriptions created from this will not alert the user that created the subscription of changes they themselves perform.


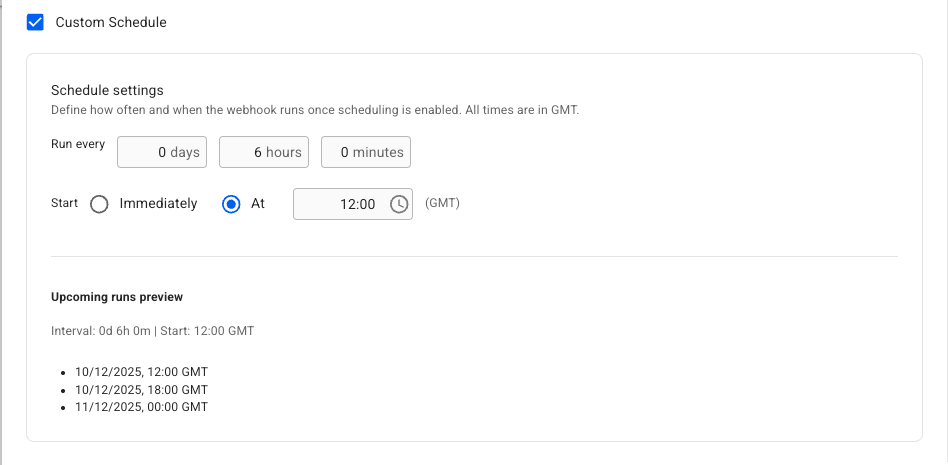
When using an Alert Script, you can configure a schedule for when it should run. The schedule lets you set the start time for the first execution and the interval between each run. The script will then execute automatically at those intervals, regardless of data changes. Scheduling is only available for templates using Alert Script.

Was this helpful?