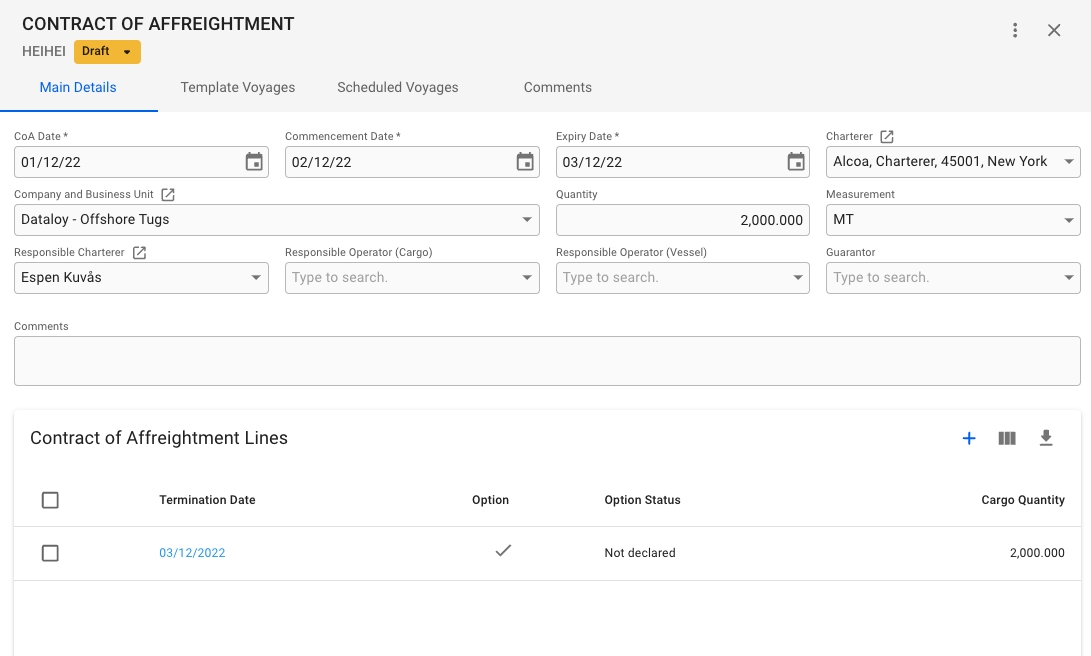
When you have located a Contract of Affreightment, click it and the details will show in a drawer on the right hand side.
By clicking the secondary actions icon  , additional actions may be possible.
In the Main Details tab, you can specify the details of the contract, such as CoA Date, Company & Business Unit, etc., as well as see an overview of all Contract of Affreightment Lines.
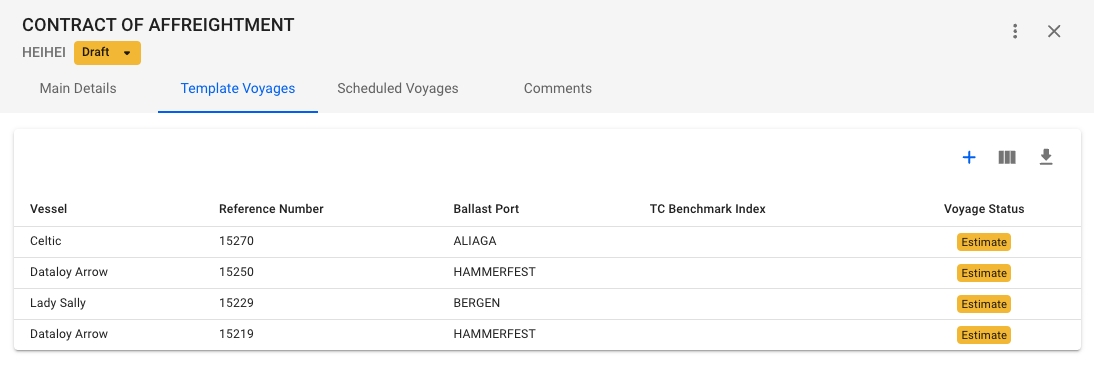
Template Voyages
This tab will show you an overview of all template voyages connected to the CoA. Clicking on any of the templates will open up the voyage drawer for the given template.
Create Template Voyage
Clicking the  icon will open a modal for creating a new template voyage. Any template voyages created will receive the Company and Business Unit of the CoA, as well as any scheduled voyages created from the template.
Scheduled Voyages
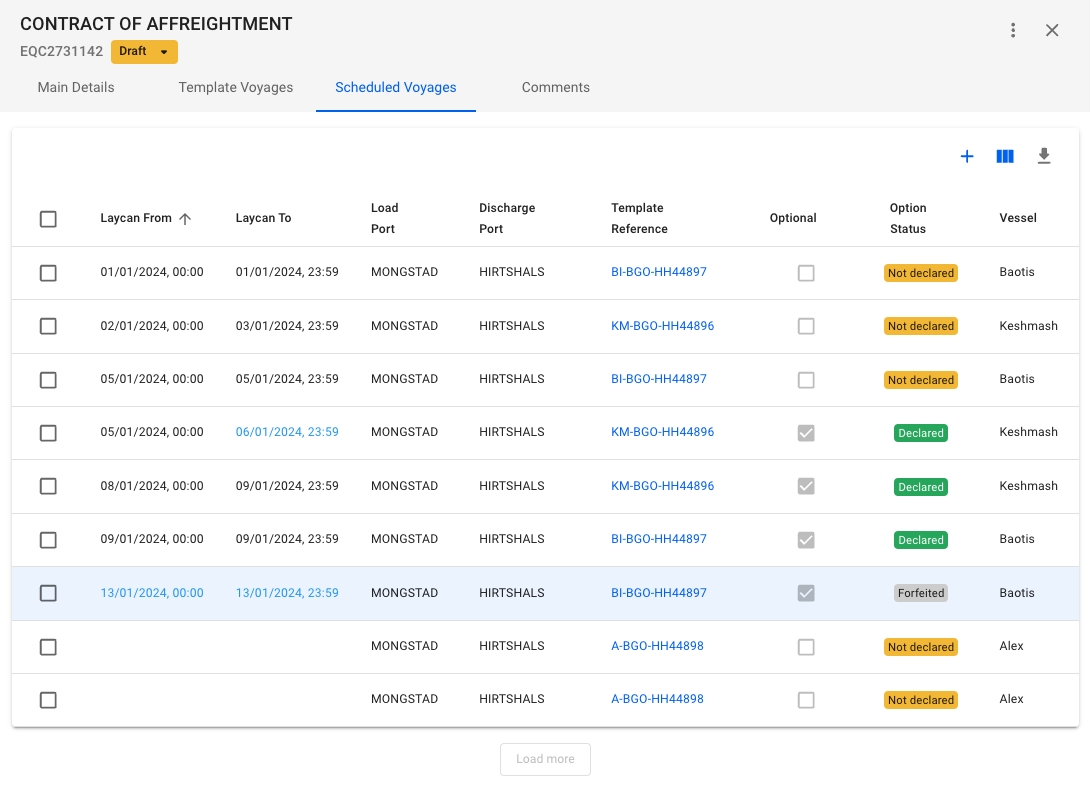
This tab will show you an overview of all voyages connected to all the template voyages connected to the CoA. Clicking on the Template Reference-number, or the Voyage reference number (if column is shown), will take you directly to the voyage drawer.
The list of voyages will be sorted by Laycan From-date by default, but may be sorted by any desired column. By clicking the  -icon, many more columns can be added, such as Option Status, Voyage Start Date, Vessel, and more.
Default columns: Laycan From, Laycan To, Load Port, Discharge Port, Voyage Status, Template Reference, Comment
Optional Columns: Optional, Option Status, Voyage Start Date, Charterer, Voyage Reference, Vessel
A slightly customised column-setup, which has removed some fields, and replaced them with others. Edit a scheduled voyage
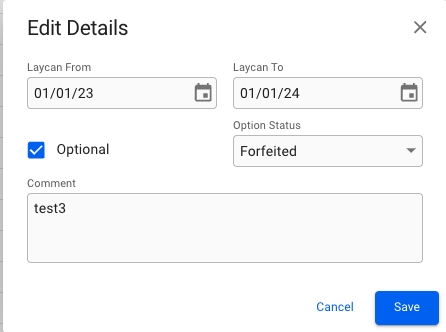
Clicking a voyage row will open up a edit modal that allows you to edit the following fields: Laycan From, Laycan To, Optional, Option Status, Comment
Edit Details modal shown when clicking a row Creating new scheduled voyages
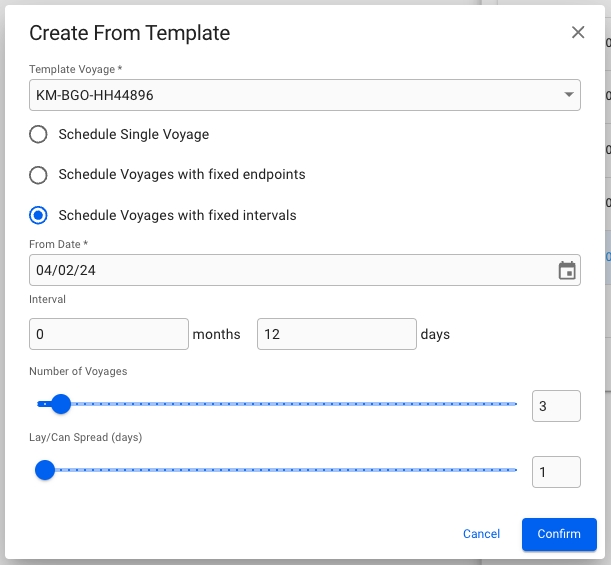
Clicking the  icon in the top right of the Scheduled Voyages list will bring up a modal to create one or multiple scheduled voyages. Select first which template you want to base the voyages on, then choose one of the three options. If you choose Schedule Voyages with fixed endpoints or Schedule Voyages with fixed intervals, additional settings that needs to be filled in will appear. Once all the required fields are set, click Confirm to create the voyages.
Creating scheduled voyages with a 12 days interval between them. 