
Widgets
What are Widgets?
Widgets are components that allow you to integrate data from external APIs directly into Dataloy. These integrations must be configured by your system administrator before becoming available to users. Once configured, users can choose which widgets to display in their drawers based on their specific needs.
Adding Widgets to Drawers
Step 1: Access Widget Selection
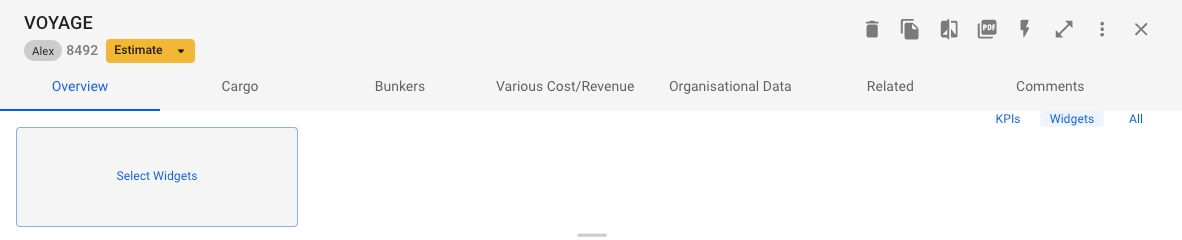
Navigate to any drawer
At the top of the drawer, you'll see three view options:
KPIs
Widgets
All
Choos All or Widgets
Click on "Select Widgets" to open the widget selection modal
Step 2: Select Widgets
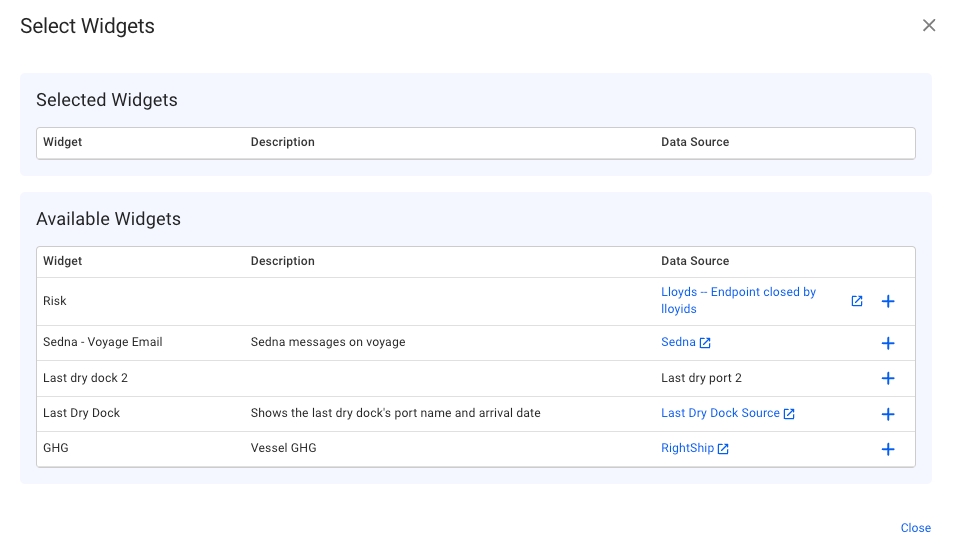
In the widget selection modal, you'll see:
Currently selected widgets (if any)
Available widgets list
To add a widget:
Browse the available widgets list
Click the (+) button next to any widget you want to add
The widget will be added to your drawer immediately
Step 3: View Your Widgets
After selecting your widgets, they will appear in the drawer.

Last updated
Was this helpful?