Loading...
Loading...
Loading...
Loading...
Loading...
Loading...
Loading...
Loading...
Loading...
Loading...
Loading...
Loading...
Loading...
Loading...
Loading...
Loading...
Loading...
Loading...
Loading...
Showing the average days extra in port for load- and discharging ports. This is only enabled when Days Extra In Port is the same for all Port Calls of the same Reason For Call. When updating, all Port Calls with the same Reason For Call will be updated. Days Extra In Port can also be updated when editing a port call.
The "Speed Order" field can be found in the Port Call module, in the Overview tab. This field allows changing the speed of a specific sea passage. In the drop-down menu, you will find Speed Orders from the vessel configuration that are relevant to the port call passage - Ballast or Laden. The speed order you choose will only affect the selected leg.
To read on how to configure the vessel speeds, please refer to vessel documentation.
Open the Port Calls List module in the Core section.
By using the list of port calls that opens on the Port Calls module, you can use the quick filters to find the port call you are looking for.
Depending on your access permissions, the list of port calls might be pre-filtered based on your system user security rights. Vessel operators can quickly filter the list to only show your port calls with the quick filter called "My Port Calls"
Specialty role: Vessel User: If you are a user onboard a vessel, the list will be showing only port calls related to that vessel.
In this article you will learn more about how to enter and maintain port costs on a port call.
Port costs can be entered in two different ways:
Adding the total estimated port cost directly on the port call, or
Creating detailed service orders for the port call.
In the port call drawer Overview tab locate the Port Cost field in the Port Details section on the bottom right corner. Here you can add the total port costs for the given port call
Service orders can be used to enter a more detailed port costs for each port call. Follow steps in this article Create Service Order to create a Service order.Once the service order is created with the estimated costs and you are ready to apply this Service Order to the port call
1.change the status on the Service Order to Estimate
2.go back to Overview tab
3.check the Use Cost from Service Orders checkbox (read this article if the checkbox is disabled)
Now the total of all service costs added under the Service Costs tab will be displayed in the Port Cost field in the port call drawer Port Details section. At the same time the Port Cost field will be disabled indicating the it can no longer be edited directly in this field.
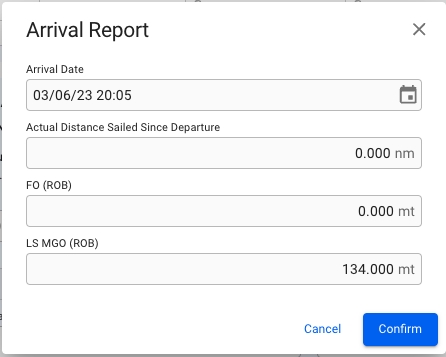
To register an arrival in a Port, open the drawer for the given Port Call by clicking it in the list. Then click the icon at the top of the drawer and select "Register Arrival". A dialog will open and allow you to enter the arrival details.
The bunker categories listed here are only those that were used during the voyage.
If the registered date is in the past, the arrival date of the port call will be locked. Registered ROBs will also be locked as Arrival ROBs.
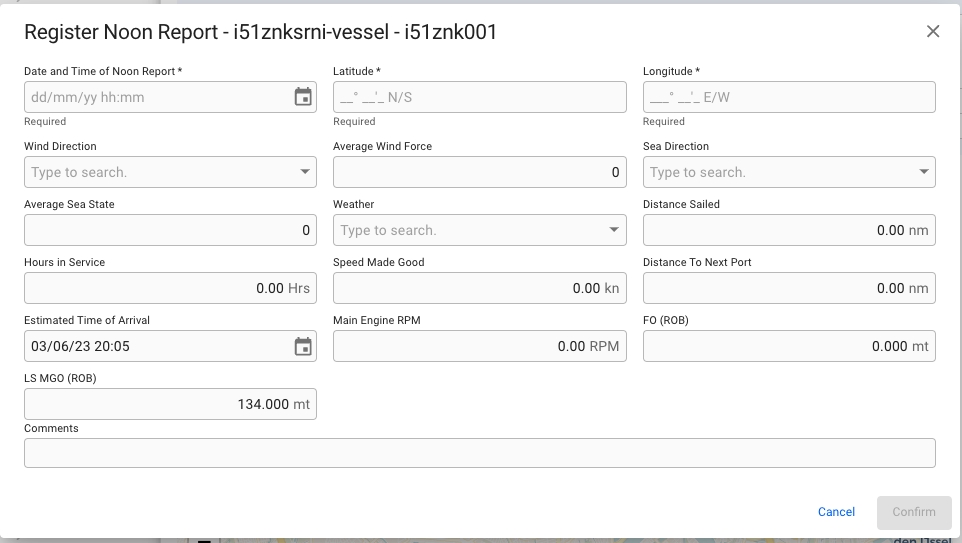
To register a Noon Report, open the drawer for the given Port Call by clicking it in the list. Then click the icon at the top of the drawer and select "Register Noon Report". A dialog will open and allow you to enter the details.
The bunker categories listed here are only those that were used during the voyage.
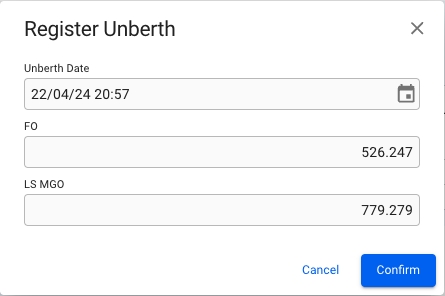
To register an unberth in a Port, open the drawer for the given Port Call by clicking it in the list. Then click the icon at the top of the drawer and select "Register Unberth". A dialog will open, allowing you to enter the unberth date and the remaining quantity of bunkers on board upon unberthing. The bunker categories listed here are only those that were used during the voyage.
If registered date is in the past, the unberthed date will be locked. Registered ROBs will be locked as Unberth ROBs.
When you have located a Port Call from the Port Call list, click it and the details will show in a panel (so called "drawer") on the right hand side.
At the top of the drawer you can locate an action menu with several action options:
In the Port Call drawer, you can look through the different tabs below to display all the relevant information:
More detailed information in each of the tabs you can find under in the Port Calls section. Ex. "View Service Orders on Port Calls" for more information about Service Orders in each Port Call.
To view service orders on a Port Call, open the drawer for the given Port Call by clicking it in the list. When inside the drawer click the "Service Orders" tab, which will display registered service orders in a table.
Service Orders tab is not visible for user with Vessel permission.
By clicking a row in the service orders table, a new drawer view will open with additional service order information, like in Maintain Service Order.
Fill in the required fields for your order.
Click Create when you are done.
Also see Create Service Order.
Click Create Service Order in the top right corner of the table.
Click in the Order Lines section to add an order line.
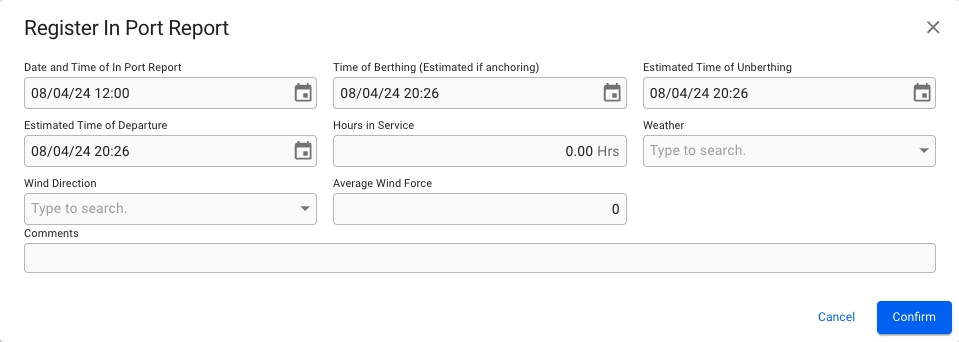
To register a In Port Report, open the drawer for the given Port Call by clicking it in the list. Then click the icon at the top of the drawer and select "Register In Port Report". A dialog will open and allow you to enter the details.
You'll learn how to accurately track your remaining onboard fuel levels, have control of your per-leg fuel consumption, and find all vital information in one place.
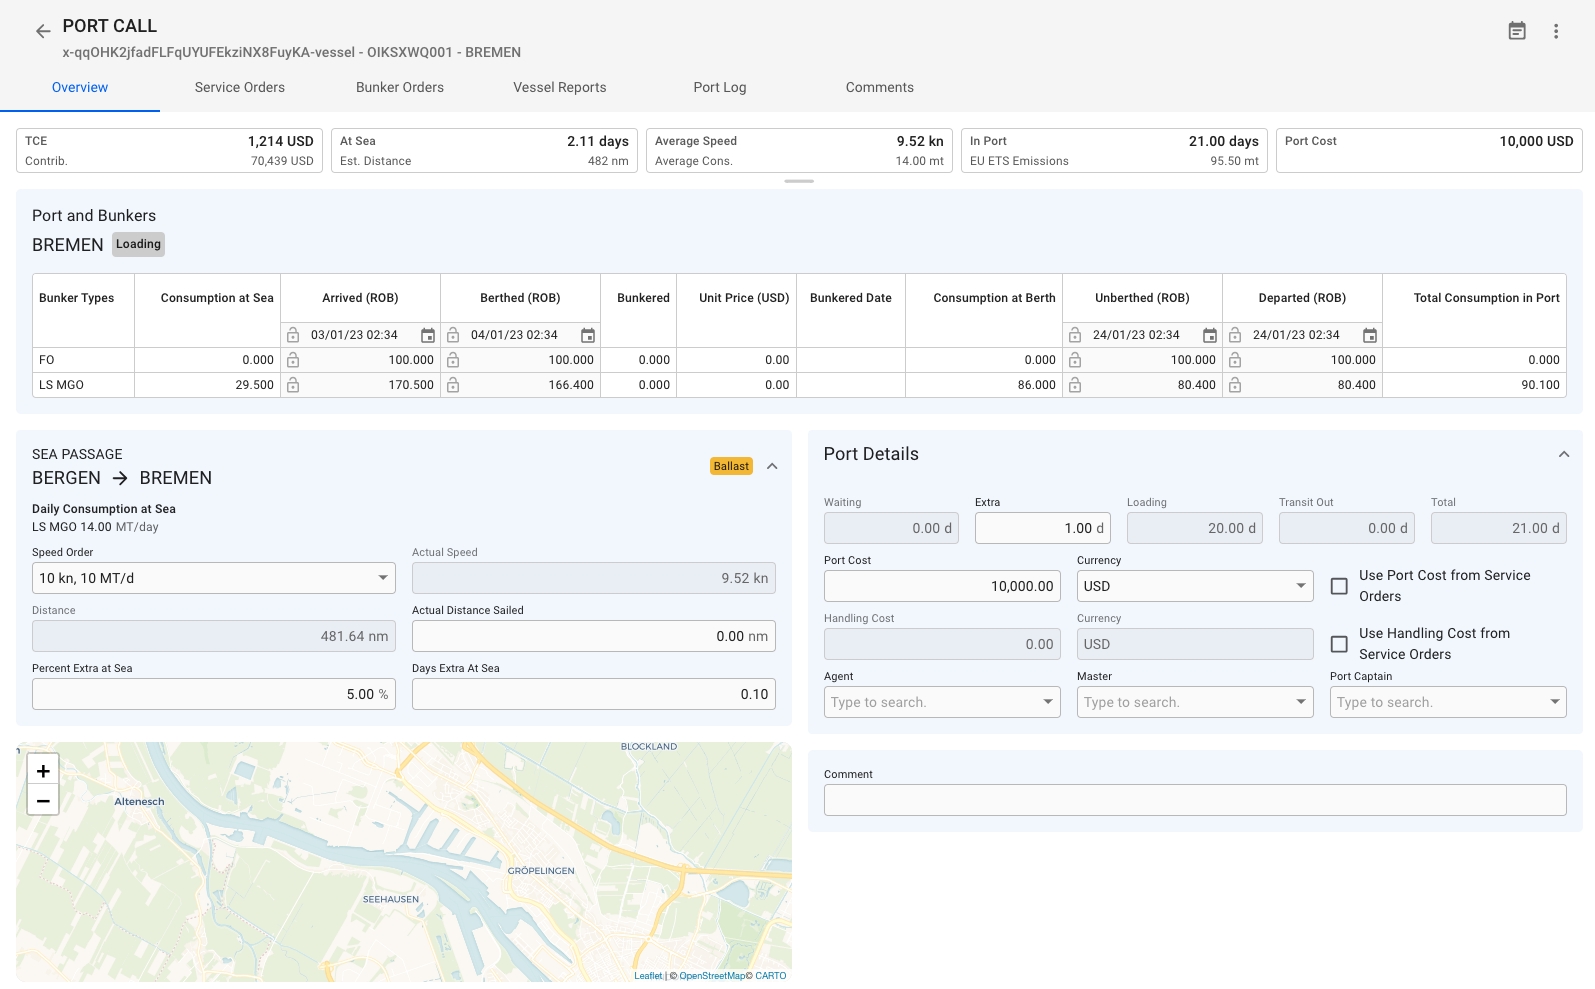
Port call Overview can be found inside the Port Call module (see ref. 1):
The Overview tab is split into three essential sections: 1. Port and Bunkers; 2. Sea Passages; 3. Port Details;
This section provides a detailed insight into fuel consumption, including the calculation of remaining onboard fuel. It also features an overview of port call events (e.g., Arrival) with respective consumption and editable values (slightly darker background cells). ROB per event and respective dates can be altered or locked (by clicking the lock icon).
Example (ref. 1):
Bremen is the first port call on a voyage. The voyage has 100 MT of remaining onboard FO and 200 MT remaining onboard MGO fuel. The arrival event (ROB) contains a summary of remaining fuel, accounting for the consumption at sea (consumption between ballast/previous port call departure and current port call arrival): 100 MT of FO and 170.50 LS MGO. The same logic applies to future events (e.g., Departure ROB would correspond to Arrival ROB minus consumption in Port), further port calls, and even the next consecutive voyages.
Initial opening balances per bunker type can be added in the Voyage module, the Bunkers tab.
The Sea Passages section includes sailing-related port call data that can be modified.
This section provides an overview of the formal and financial sides.
The top row suggests the days-related information, answering such questions as 'How long are we in the port?', 'How much extra time has the vessel spent in port?', 'How much time did it take to Load/Discharge Cargo?', 'How long did the transit out take', and 'How many total days were spent in the port'.1
The second row contains the port cost-related data - port cost and currency, and a function to use the total of 'Our' port costs from Service Orders.
The third row is an overview of the handling cost for this port call. The two fields are always disabled and are only for information. When the checkbox is unchecked the handling costs is from the cargo port , if it checked the handling cost will be calculated from Service Orders instead.
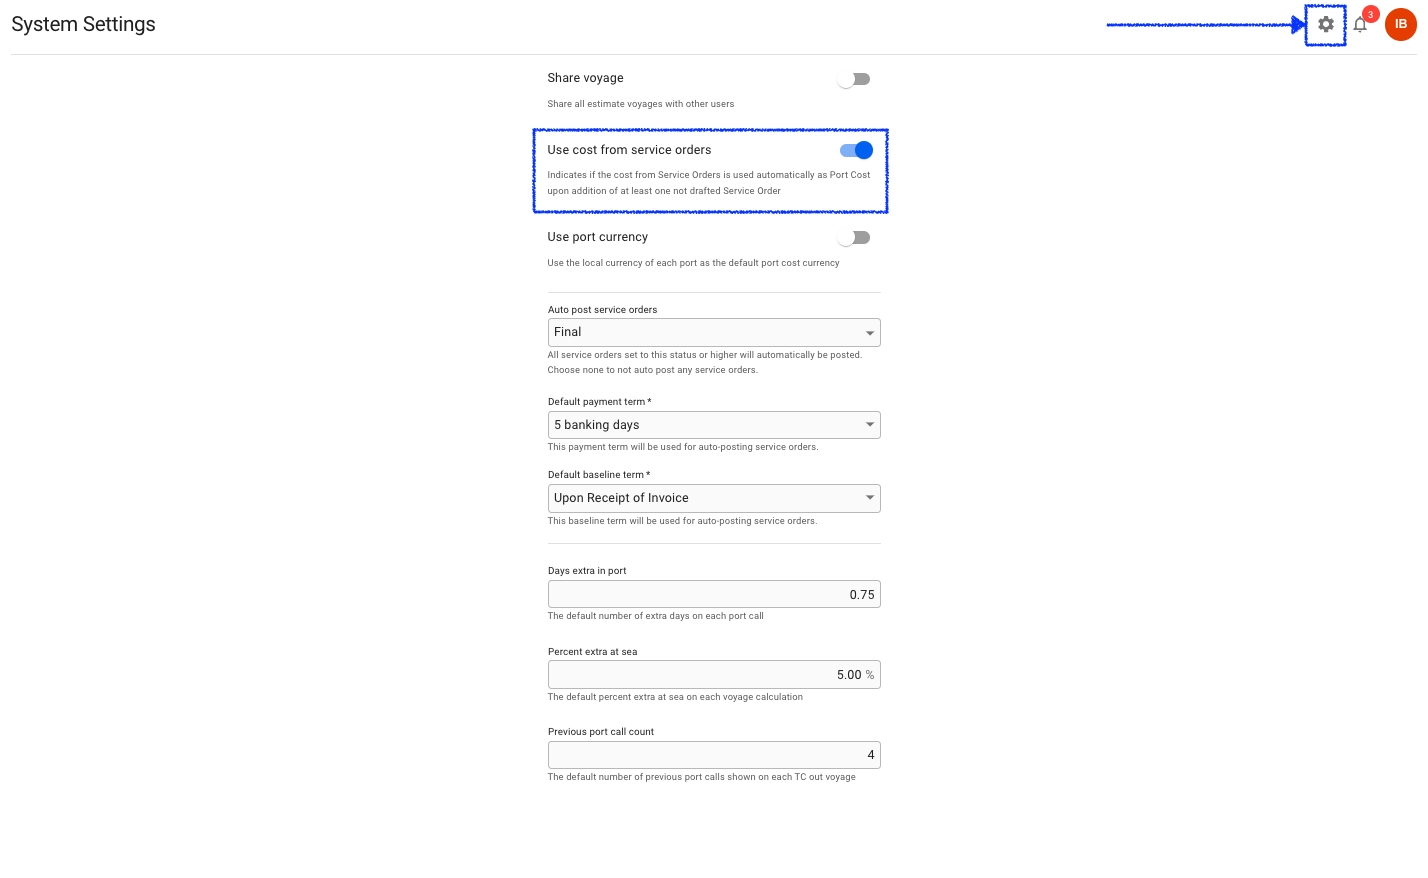
If you prefer to always use the cost from Service Order you can automate this functionality by asking your Administrator to enable this under the System Settings
Once this functionality is enable the Use Cost from Service Order checkbox in the Port Call drawer will be disabled and the users will no longer be able to override this.
It will still be possible to enter a total estimated port cost in the Port Call drawer or create a drafted Service Orders and update them as needed without impacting any other calculations.
Once the Service Order status is changed to Estimate, Revised or Final it will no longer be possible to do any changes of port cost directly on the Port Call.
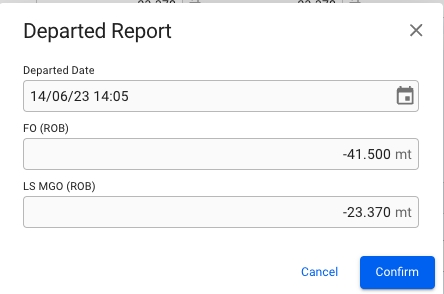
To register a departure in a Port, open the drawer for the given Port Call by clicking it in the list. Then click the icon at the top of the drawer and select "Register Departure". A dialog will open and allow you to enter the departure details.
The bunker categories listed here are only those that were used during the voyage.
If registered date is in the past, the departure date will be locked. Registered ROBs will be locked as Departure ROBs.
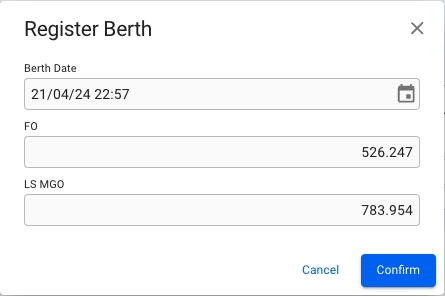
To register a berth in a Port, open the drawer for the given Port Call by clicking it in the list. Then click the icon at the top of the drawer and select "Register Berth". A dialog will open, allowing you to enter the berth date and the remaining quantity of bunkers on board upon berthing. The bunker categories listed here are only those that were used during the voyage.
If registered date is in the past, the berthed date will be locked. Registered ROBs will be locked as Berth ROBs.
In the port log tab there will be an overview of stoppages registered for both cargo ports, and for the port call.
A list of all cargo ports connected to the port call will be displayed in the form of collapsible panels.
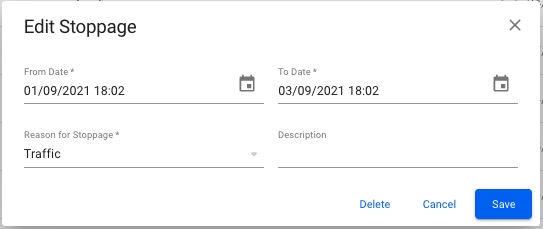
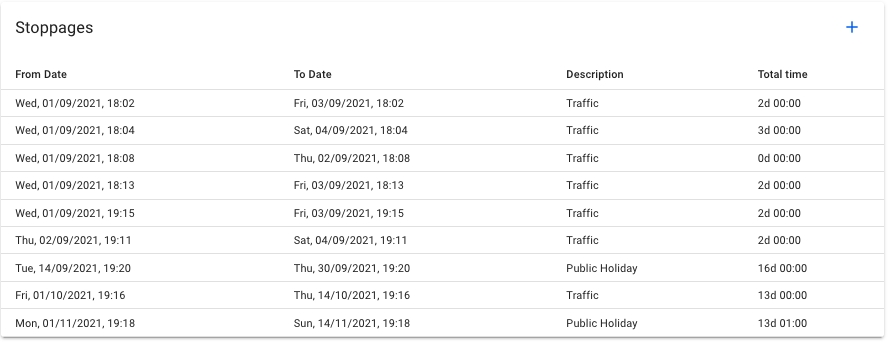
When opening a cargo port panel, a list of stoppages will be presented. The stoppages are editable if the cargo port does NOT have a laytime calculation connected.
It is possible to create new stoppages for a cargo port, by clicking the + sign in the top right corner of the cargo port panel. It is the same fields for creating and editing a stoppage.
Underneath all the cargo ports, a list of all stoppages related to the port call will be displayed. Stoppages that are related to the connected cargo ports will be marked with the commodity name as well.
To view bunker orders on a Port Call, open the drawer for the given Port Call by clicking it in the list. When inside the drawer click the "Bunker Orders" tab, which will display registered bunker orders in a table.
By clicking a row in the bunker order table, a new drawer view will open with additional bunker order information like in Maintain Bunker Orders.
The Port Log allows you to record all events during a port call. The events are specific to a cargo and gives important information in a Laytime Statement about what has occurred and when.
To access the Port Log go to the Port Calls module and click a port call to open the drawer to find the "Port Log" tab at the top.
The event table lists all applicable events for the port call. Events are either on Cargo Port or Port Call (PC) level. The columns in the table are event names, port call event dates and cargo event dates (one per cargo registered on that port call). The column header for cargo shows charterer name, cargo reference number and quantity.
To register a date for an event, click on a cell in the table and press Save in the appearing window. Dates can be cleared by opening the event date window again and pressing backspace to delete the date in the input field.

With below it is possible to keep track of incoming vessel reports.
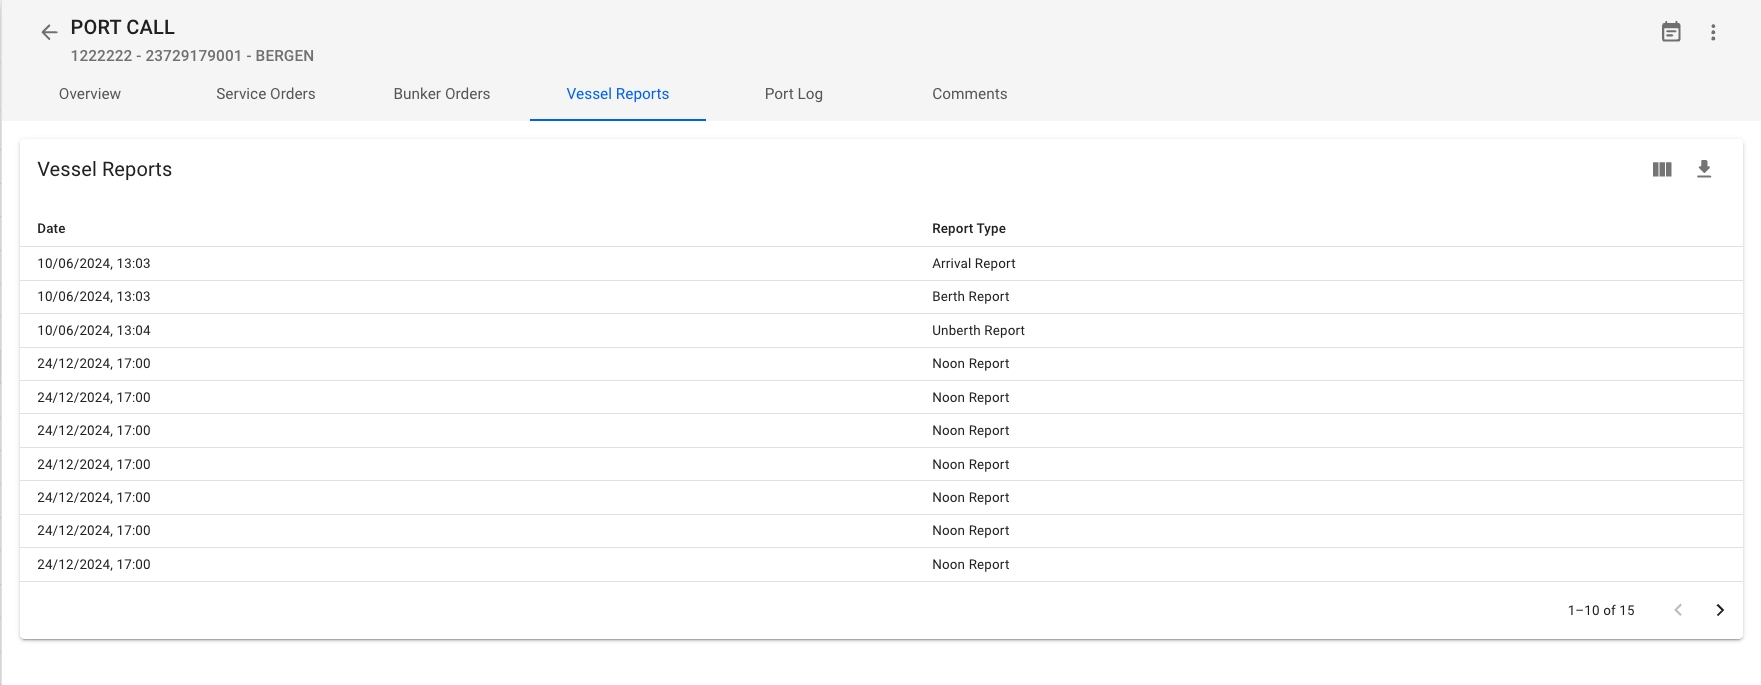
To view Vessel Reports, open the drawer for the given Port Call by clicking it in the list. Then click the tab "Vessel Reports" at the top of the drawer and a list with registered reports will be displayed.
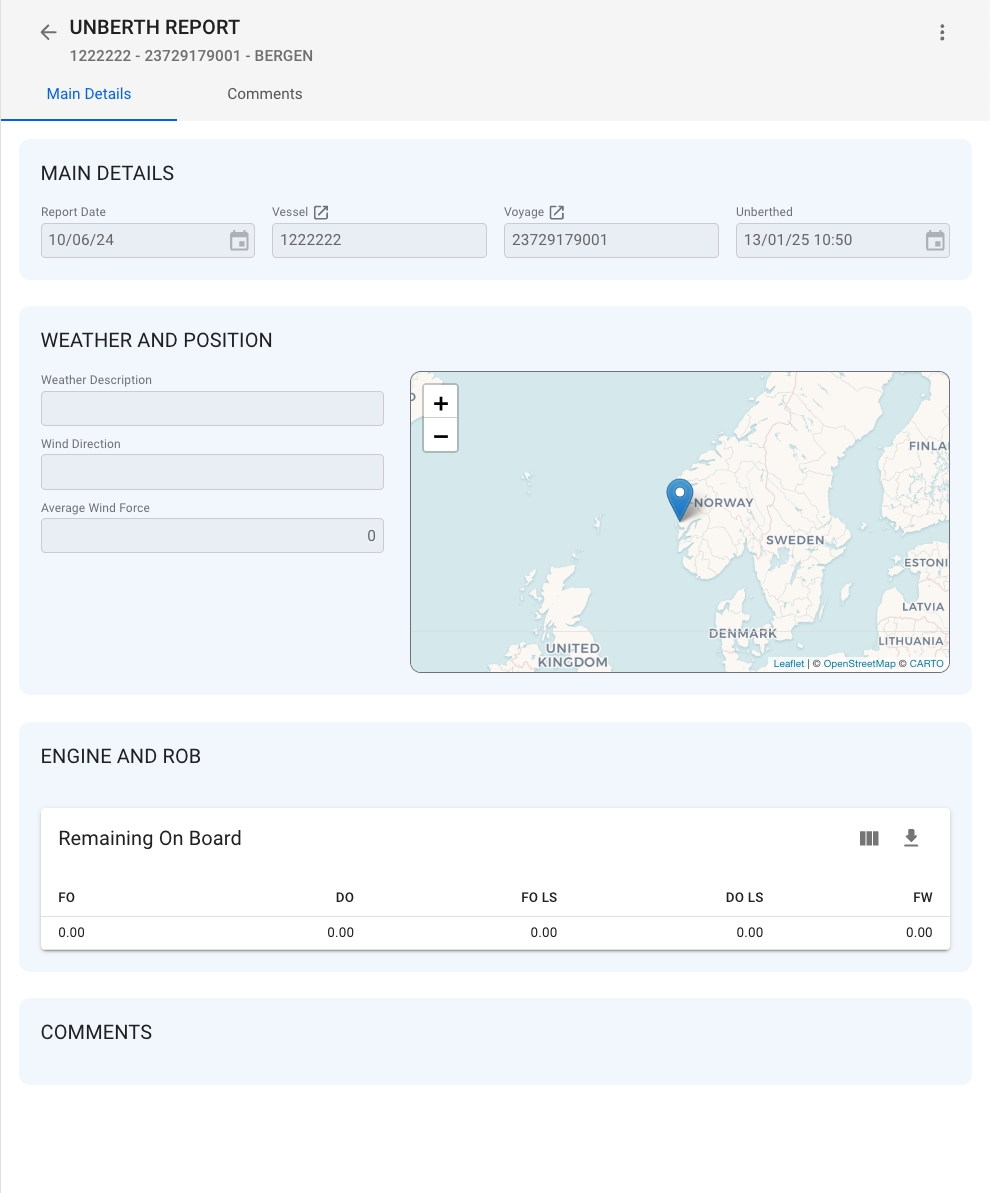
To view a given report, click the wanted report in the list and a new drawer will open with further details.
Note: if you want to keep track of incoming reports from multiple vessels or a fleet then check out this page

