Loading...
Loading...
Loading...
Loading...
Loading...
Loading...
Loading...
Loading...
Loading...
Loading...
Loading...
Loading...
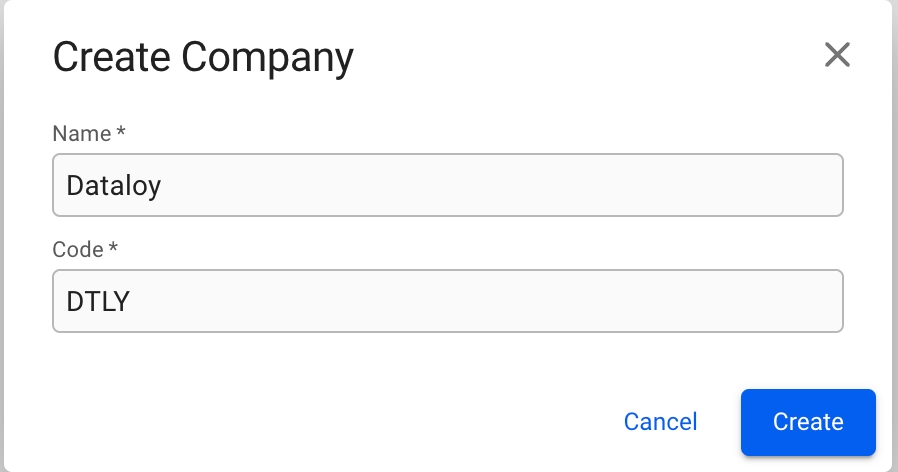
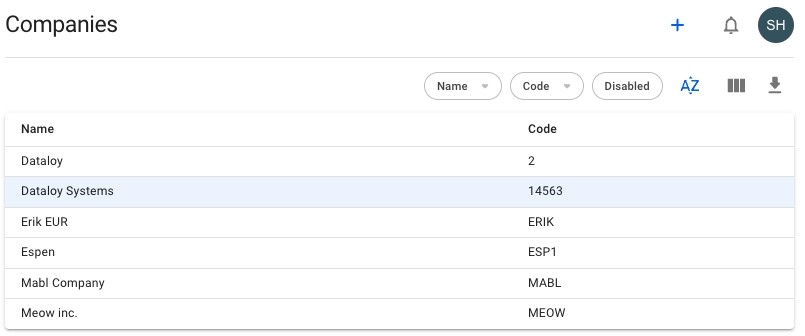
To create a new Company, click the icon in the top right on the Companies list. This will bring up the Create Company modal. Fill in company name and code, and click create.
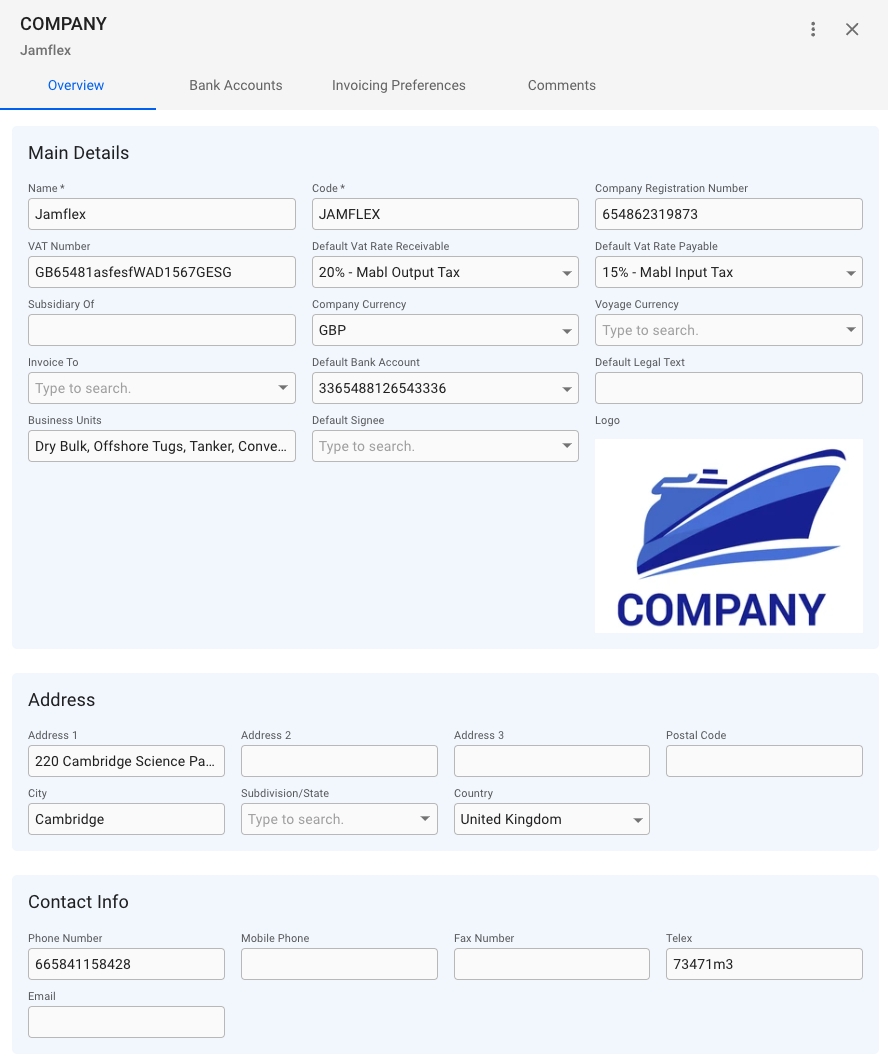
To add or change details about a company, click on it in the Companies list. This will bring up the Company drawer.
From the overview tab, you can see all the important details of a company such as Name, Code, Company Registration Number, VAT Number, different currencies, Business Units and more:
The Default Signee field in the Main Details section will sign invoices by the company with the users signature, should it have one.
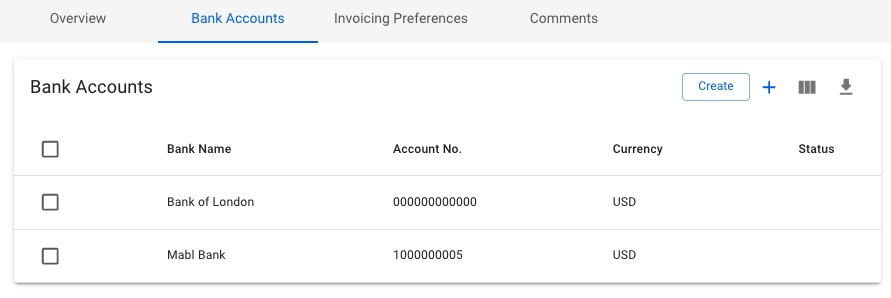
The tab contains a list of all the Bank Accounts belonging to the company. The usual list operations are available, with two minor changes:
We are in the process of migrating the invoice settings from the Company drawer, to the System Settings Invoicing Preferences tab. Until this process is complete, some settings will reside under the Company drawer, others in the System Settings -> Invoicing Preferences tab.
More details can be found on the Invoicing Preferences page.
The invoice preferences tab has an overview of all toggleable options for printing any invoice issues by the company. Any combination of options can be enabled, or disabled, and then reflected on the print out. The tab is divided into Header, Body and Footer sections, with their respective toggleable options.
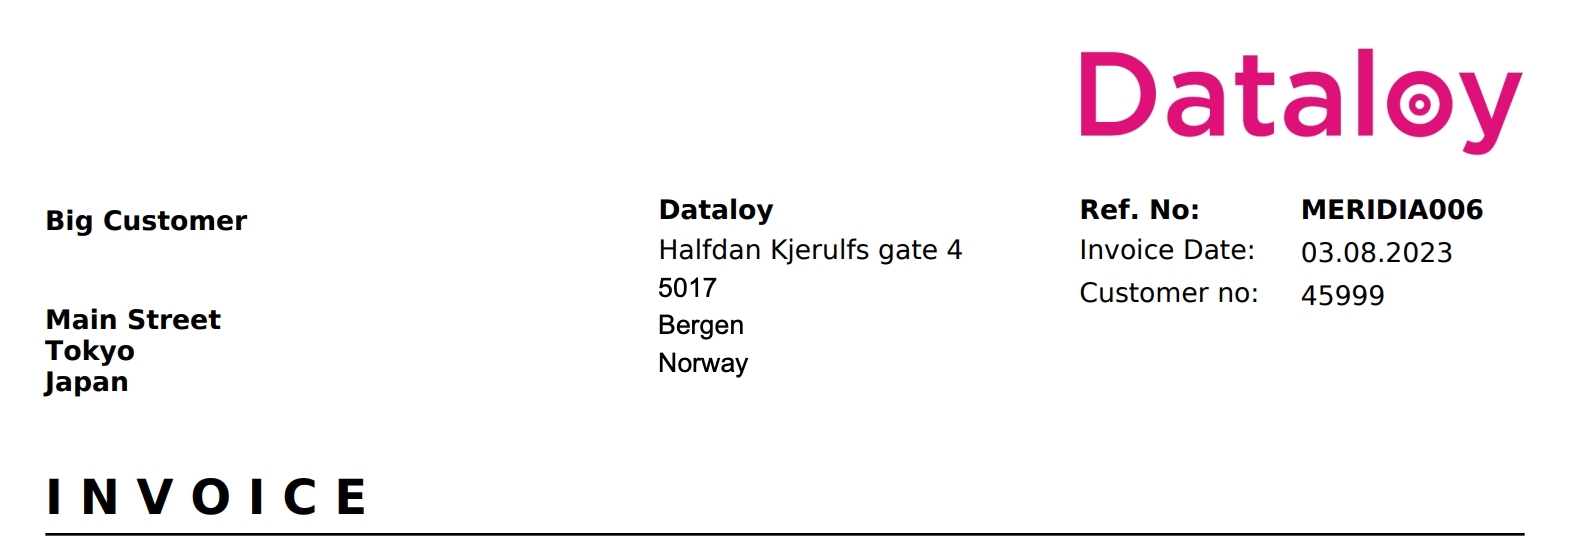
If the company has a Company Logo uploaded to the system, it will show up to the left section of the Header section, below the "Header" title, otherwise show as "empty".
To upload or replace a Company Logo, click on the "Upload Logo" button to open up the dialogue box.
A Company only has one logo. Uploading a new logo to a Company with an already existing logo, will replace the old logo.
Show Contact Person On Invoices
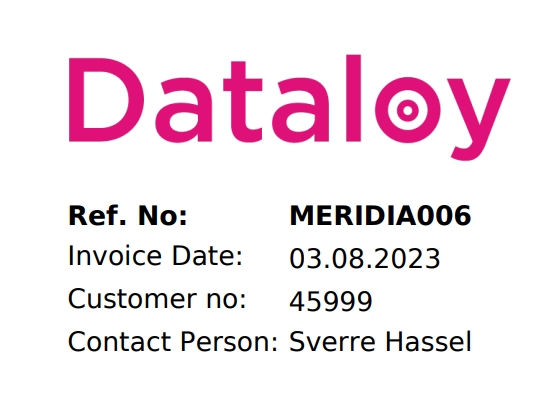
Shows the responsible contact person in the reference section in the top right of the invoice.
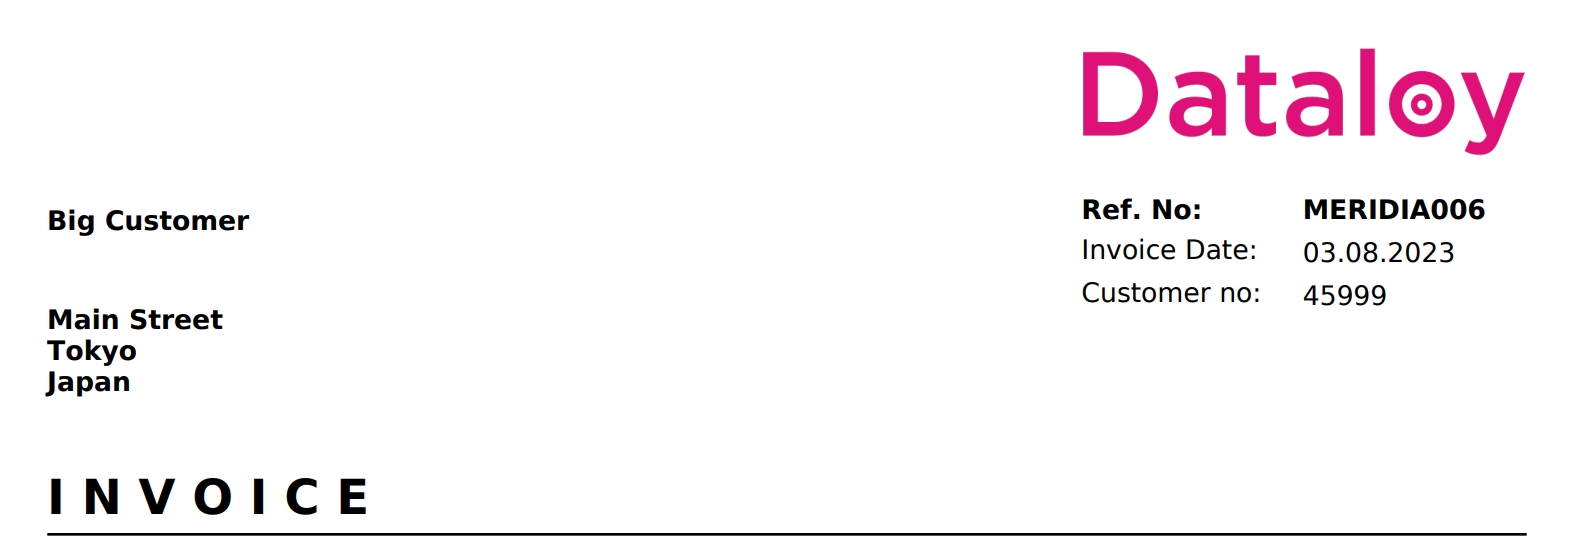
Show Company Address In Header *
Displays the issuing company's address in the top of the invoice, instead of the bottom.
Show External Document No *
Shows the data entered in the "External Document No" on the document above the payment details in the invoice.
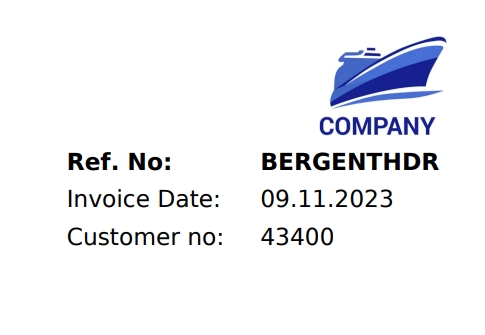
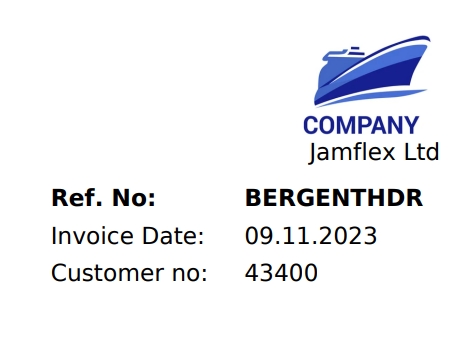
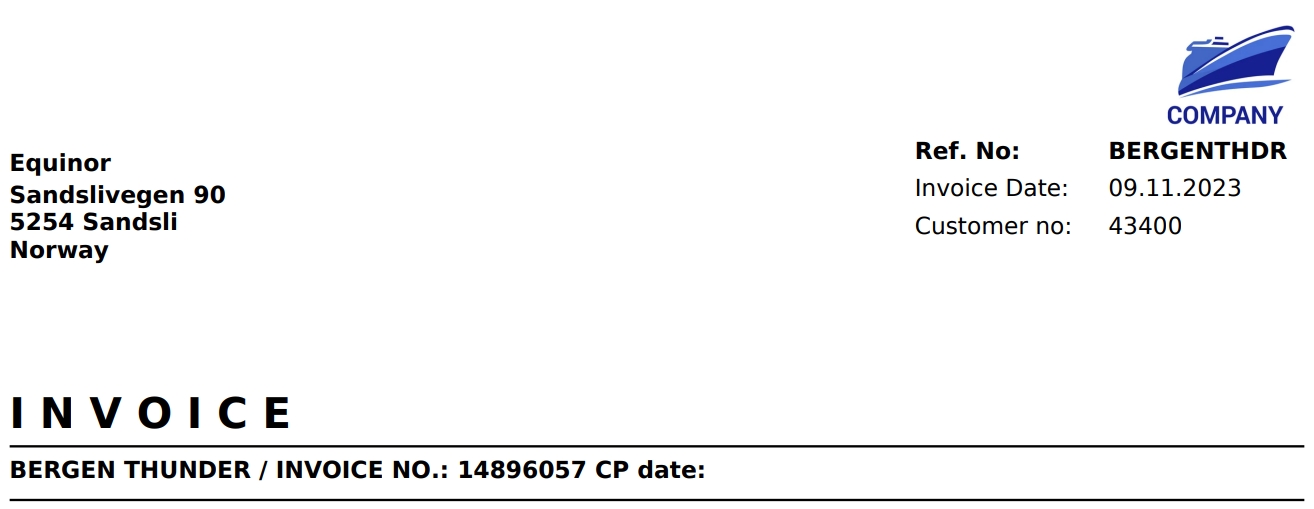
Show Company Name Under Logo
Displays the issuing company's name underneath the logo in the header.
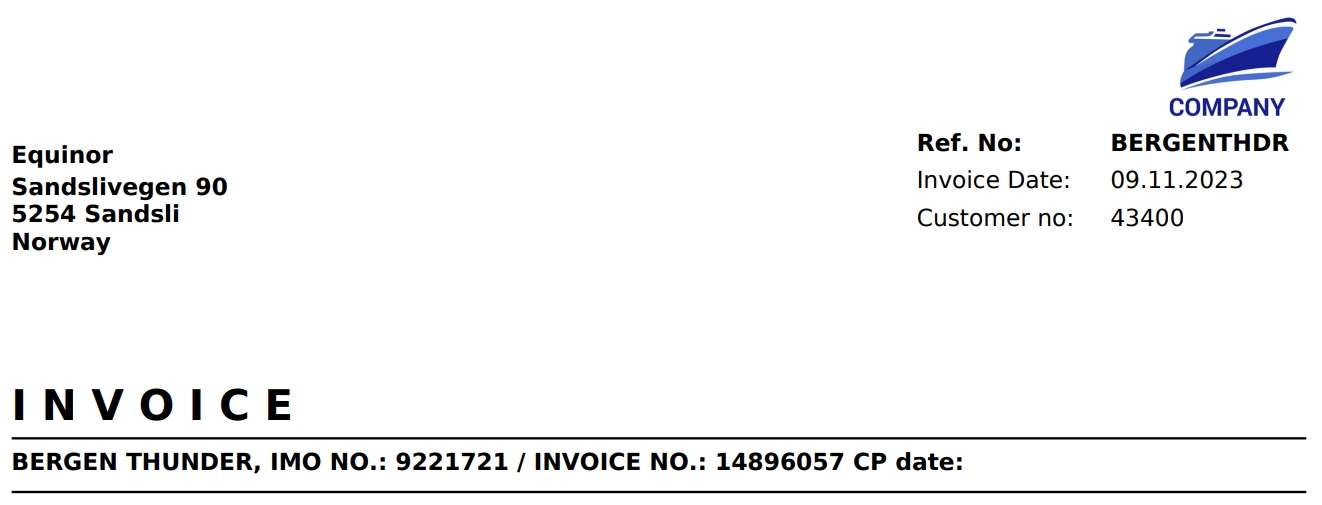
Show IMO On Invoice *
Displays the vessels IMO number next to it's name.
Show Business Partner VAT Number *
Shows the charterers VAT number underneath the payment details.
Show Issuing Company VAT Number *
Shows the issuing company's VAT number underneath the payment details.
Sum Commission On Hire Invoices
Toggles summing of similar commissions on invoices that contains a charter hire line and the company is listed as issuing company.
Options marked with * have no effect when using the new invoice template. For more details, see the Printing Invoices page.
Another part of VMS's new invoicing preferences settings can be found under Setup -> System Settings -> Invoicing Preferences: Invoicing Preferences.
For companies registered in EU, you can now modify the Tax rules for Freight invoices. You can add the Tax rule in the Tax Description field, along with the other specifications, which can be done separately in the Taxes module. This Tax then has to be connected to a Company. What is specified in Description will reflect on the invoice, but based on our various set of rules. Scroll through the demo below to see an illustration of each Tax rule, along with how this line will look on the printout. For all scenarios, you firstly have to have the Issuing Company in EU, have a company on the Business Partner, and have at least one Freight invoice (click on the pictures for better view):
If the Business Partner's country and the Issuing Company's country are equal, and there exists a VAT with Rate 0% for that country, then this will be printed out:
Remember that this line is your specified Tax description, which should be linked to the Issuing Company's Vat Rate(s).
If the Business Partner's country and the Issuing Company's country are equal and there does NOT exist a VAT with Rate 0% for that country code, then this will be printed out:
Note that this line is predefined.
If the Business Partner's company is in the EU, but not in the same country as the Issuing Company and if additionally the Business Partners VAT Number has a value, then this will be printed out:
Note that this line is predefined.
If the Issuing Company is in the EU and you do not meet the criteria of Rule 1, Rule 2 and Rule 3, then this will be printed out:
Note that this line is predefined.
If you don't have the EU Tax Automation property set up (see the warning below), your invoice does not have any document line for the account Freight, or your issuing company is not in the EU (aka you don't meet any of the previous criteria), then the printout will look like before:
Note that this is the default setup.
The line(s) is placed below the Total Amount, and above Beneficiary Name.
A Dataloy Property to enable the EU Tax Automation has to be set on your environment first! The developers can help set it up for you.
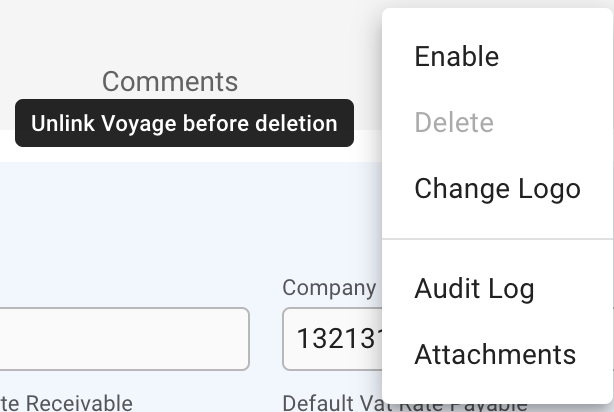
Deleting a Company requires that the Company is both disabled, and has no link to any Voyage.
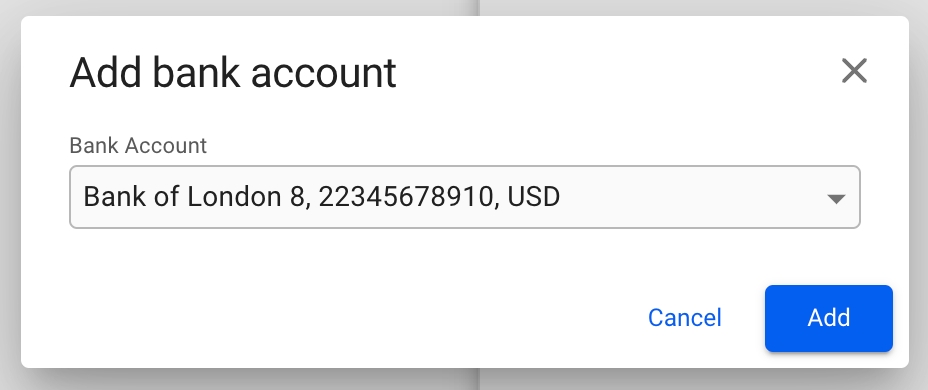
To add an already existing bank account, click on the icon in the top right of the list. This will bring up a dialog box to select the account from a list, showing the Bank Name, Account Number and Bank Currency. Click Add to add the account to the Company:
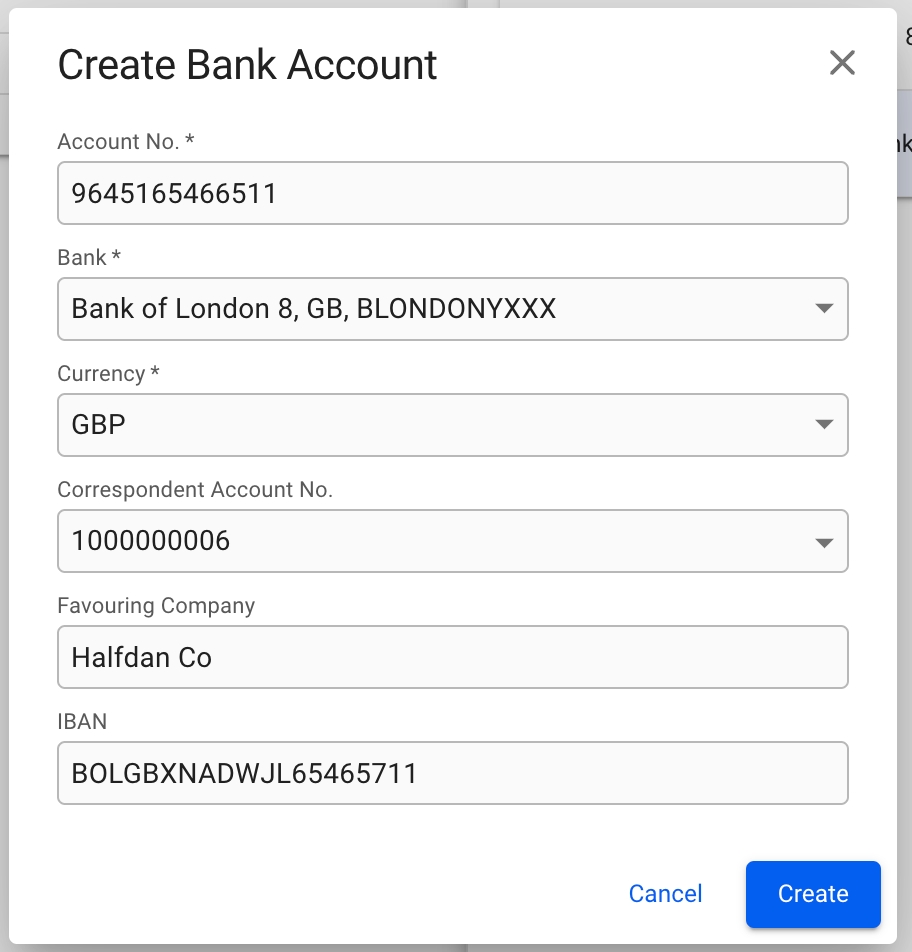
To create a new Bank Account, click on the button in the top right of the list. This will bring up a modal to create a brand new bank account. Fill in the required details, and click Create to add it to the Company:
Click the button in the top right corner of the Company drawer to bring up the menu. Then click the "Disable" option to first disable the Company. Next, open the menu again, and click "Delete".
The Master Data section houses the core data, for example, clients, vessels, etc., accounting parameters, and any other data required to successfully operate the different modules of the system. Master Data is a single source of basic business data used across the VMS in the modules and is shared by multiple users. To enable full usage of the system it is necessary to enter data into this section.
Each master data page follows the same design where you get a list of master data when opening the page. Create a new master data object with the + button above the list and maintain the master data object by opening a drawer when clicking a master data object in the list.
Note! You may enable the feature to make the Company and Business Unit fields depend on each other. If one of the details is set, you may tee linked items that correlate to the former attribute when selecting the second field. Moreover, if you proceed with an element not linked to the former attribute, the first field will be cleared.
For example, there is Company A, which has a link to Business Unit A. When creating an object, after selecting Company A and expanding the Business Unit, you will get a list of options. The list will contain all the Business Units, but Business Unit A will be marked as linked to the selected Company. Next, if linked Business Unit A is chosen, you will end up with Company A and Business unit A. Otherwise, if the selected Business Unit is not linked to the preferred Company, the Company field will get cleared, and you may observe a list of Companies related to the selected Business Unit.
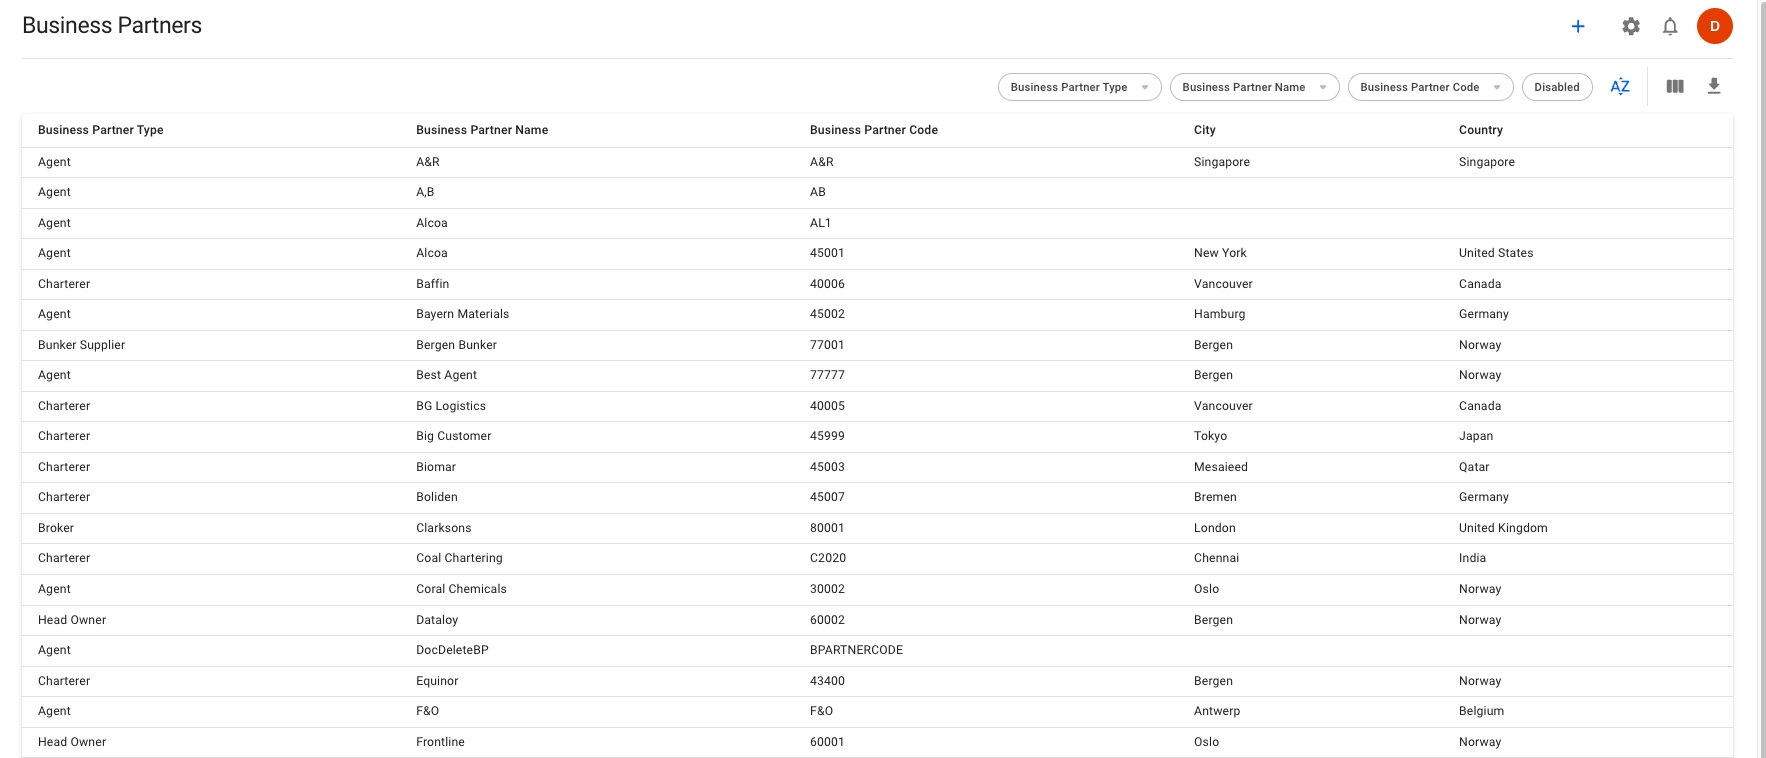
The business partners list displays the following data:
Business Partner Type
Business Partner Name
Business Partner Code
City
Country
At the top-right of the list, you can select different filters for the list. The available filters are:
Business Partner Type
Business Partner Name
Business Partner Code
Disabled Business Partners
This module is used to store contact persons.
Please note that to use individuals throughout the system, an individual type must be set in the individual master data. This is necessary because all contact person selectors are filtered by the type they represent..
Opening the "Various Cost and Revenues" module under "Master Data" will show a list of all available various cost/revenue.
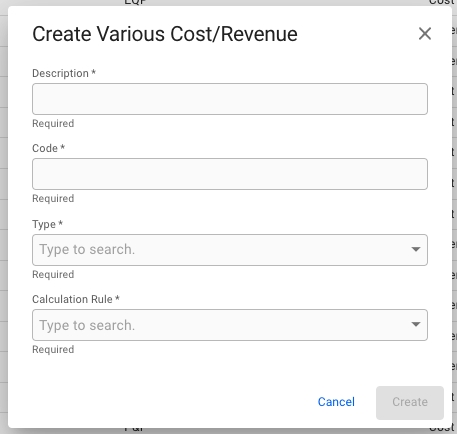
Fill out the fields in the popup: - Description: The name of the various. - Code: A unique identifier of the various. - Type: Labels the various as "cost" or "revenue". - Calculation Rule: Decides how/when the various is calculated.
Click "Create" and the new various will now show in the list
Click a various in the list to open its drawer.
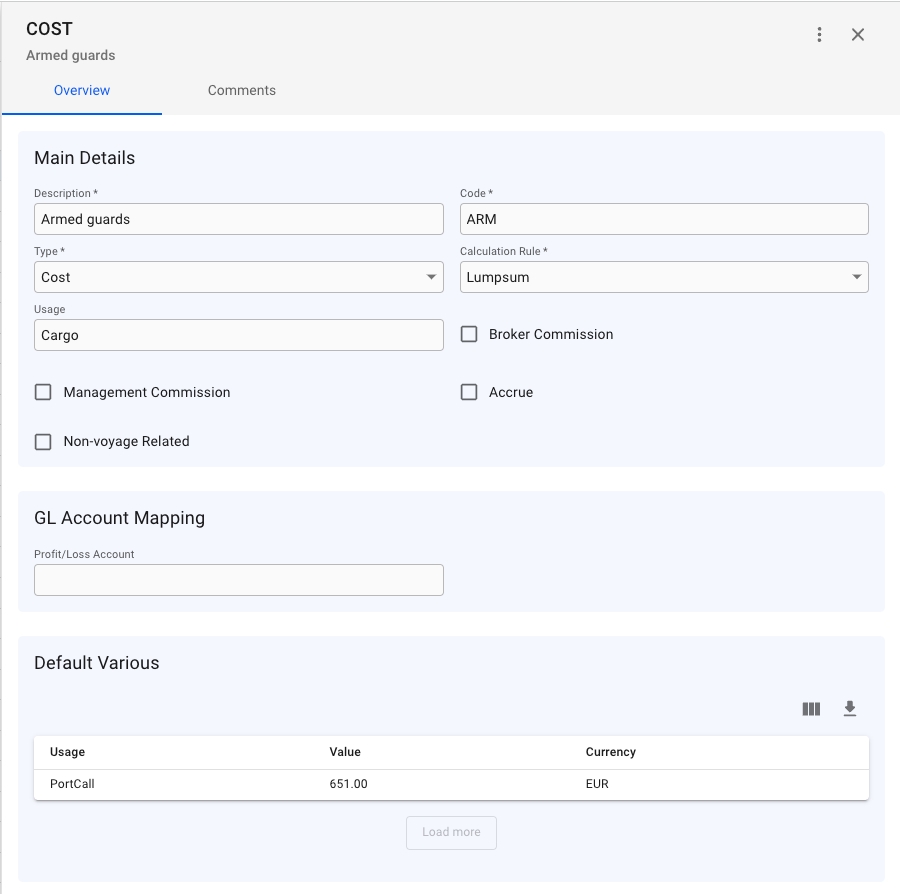
Under "Main Details" the current values of the various can be changed. This section contains more options compared to the pop up when creating the various.
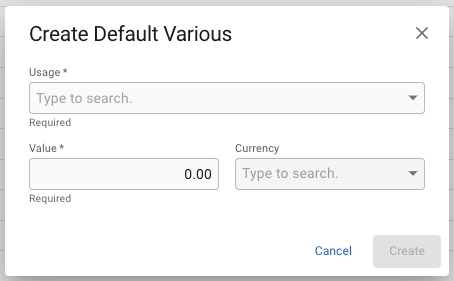
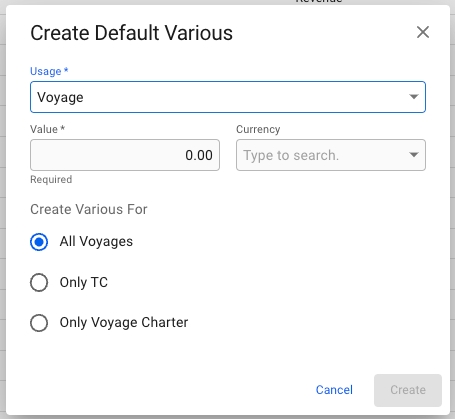
Fill in the values: - Usage: The object that will trigger the creation of the various - Value: The value of the various when created - Currency: The currency of the various value (optional) In addition, when creating a default various with the usage object "Voyage", it is possible to select whether the various should be created for all voyages, only TC voyages, or only voyage charters.
Click the in the top right corner of the module to open the "Create Various" pop up.
Default various is a various that is always created whenever its usage object is created. The list in the picture above shows that the various "Armed guards" has one default various that is created whenever a port call is created. To create a default various click in the top right corner of the list.
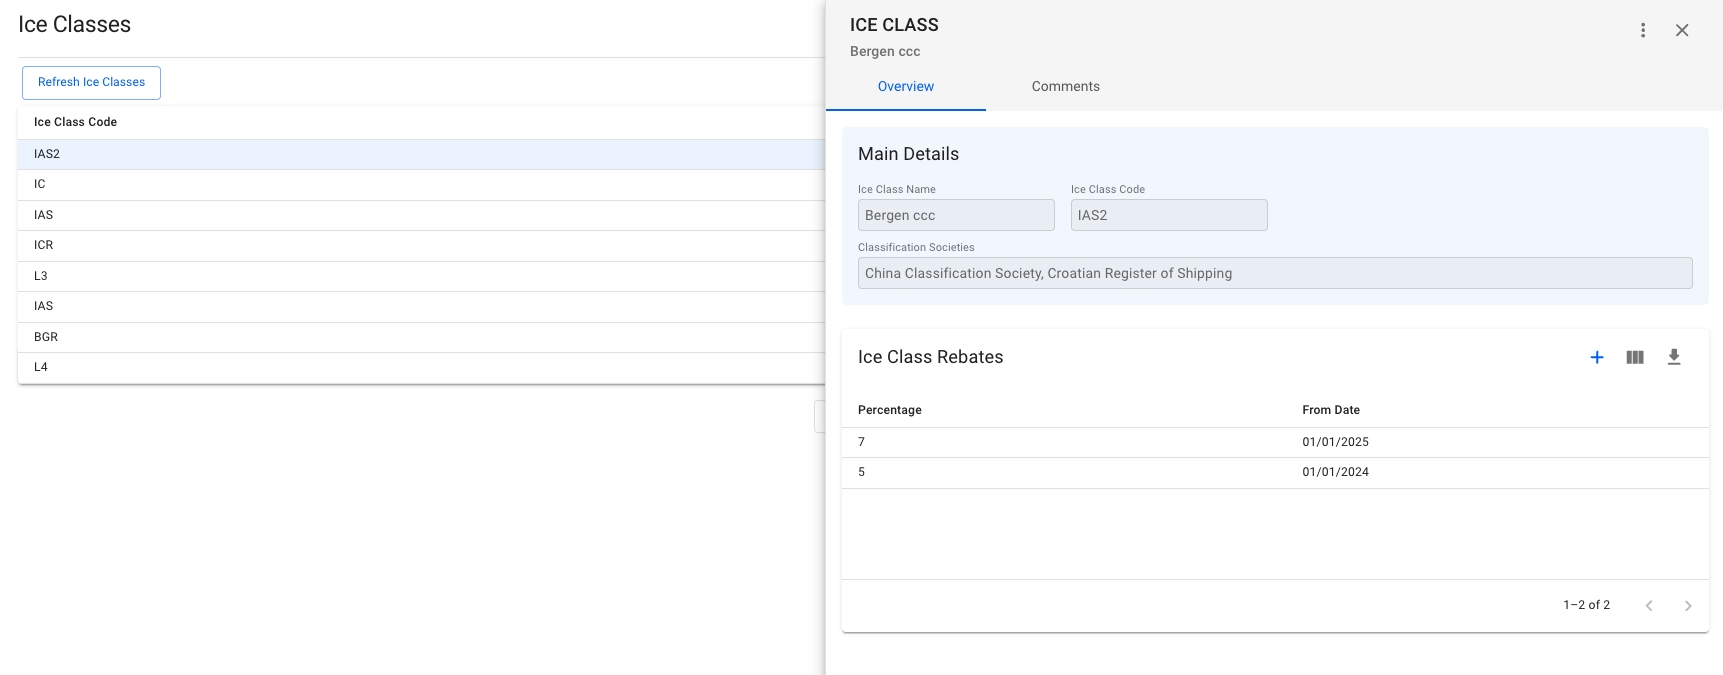
This page allows viewing available Ice Classes for Classification Societies.
The Ice Class page provides a comprehensive overview of the supported Ice Classes linked to their respective Classification Societies.
Furthermore, the Ice Class module enables the configuration of rebates for compliance. This means that if a vessel belongs to one of the Ice Classes that have rebates set up, the total EU ETS cost will be reduced by the rebate percentage. In other words, the EU ETS cost will be 100% minus the rebate percentage.
The screenshot depicts the IAS2 Ice Class and associated rebates. If the Voyage's has an Ice Class, the rebate percentage is subtracted from the .
This page contains information about Events and related characteristics.
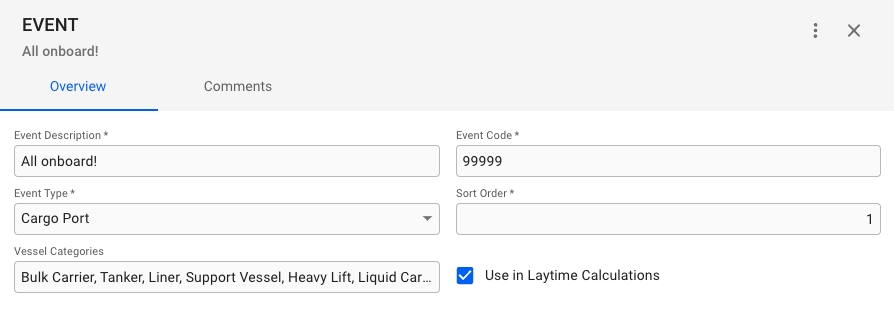
The Event module is designed to facilitate the documentation of various events that occur during a Cargo Port/Port Call. These events can be anything from simple notes like "Loading Completed" to more complex actions such as "Anchored" or "Captain arrived!".
By using the Event module, users can easily document and keep track of important events that occur during a Cargo Port/Port Call.
Each event in the module is identified by a set of attributes which include:
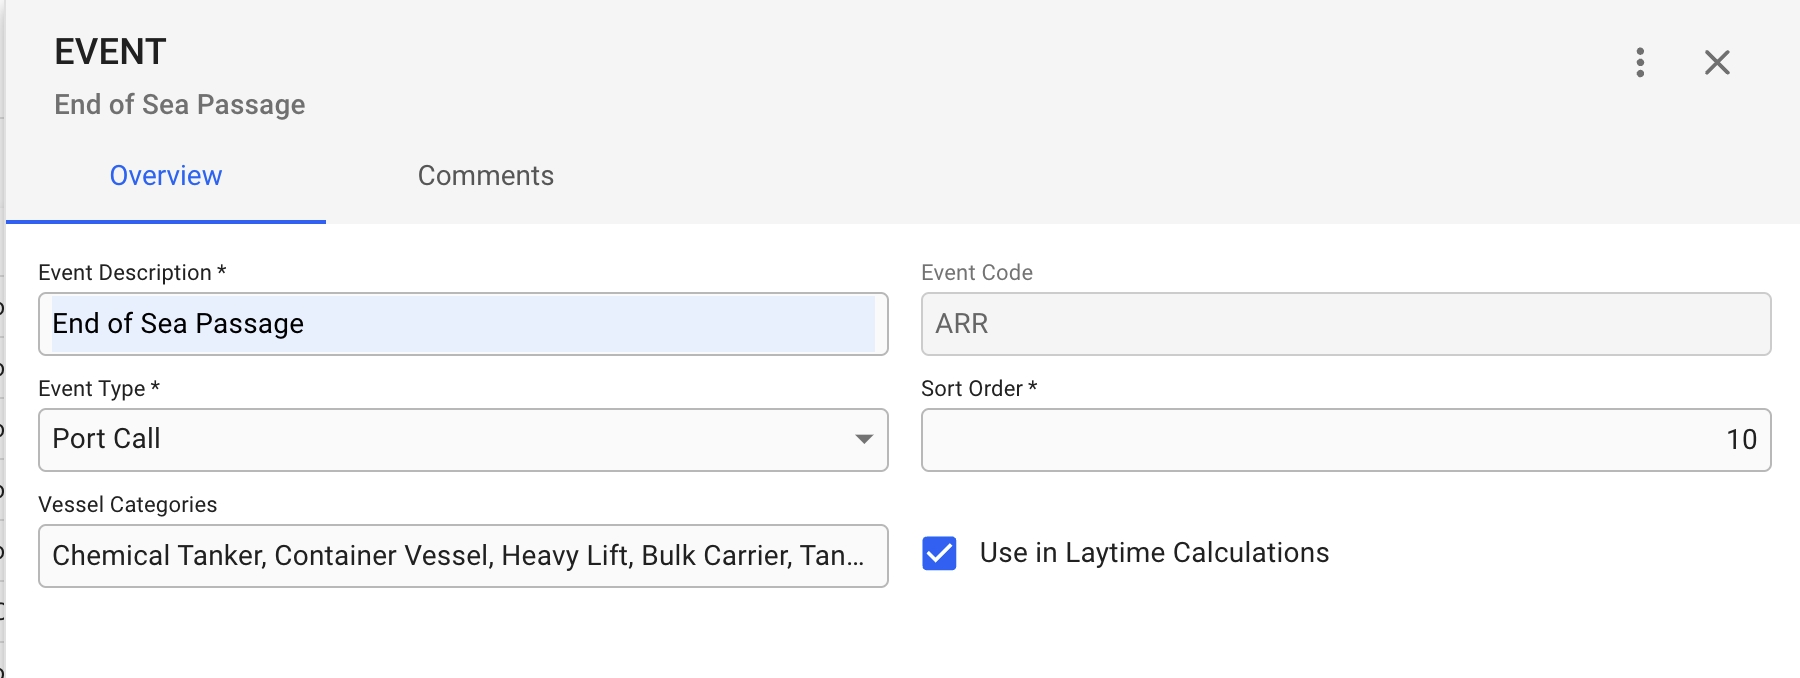
Event Description - brief text that reflects the meaning of an event.
Event Type - can be either Cargo Port or Port Call. The type allows defining when the event takes place.
Vessel Categories - allows selecting vessel categories to which the created event will be applied.
Event Code - unique identifier for easier navigation.
Sort Order - shows the position at which the chosen event will show up among those events that also satisfy the same Event Type and Vessel Category.
The description of port call event types (Arrival, Berth, Unberth, Departure) are reflected on labels across the system.
Administrators can modify the event description to suit your requirements.
Changes to these events will be applied to the following sections of the system:
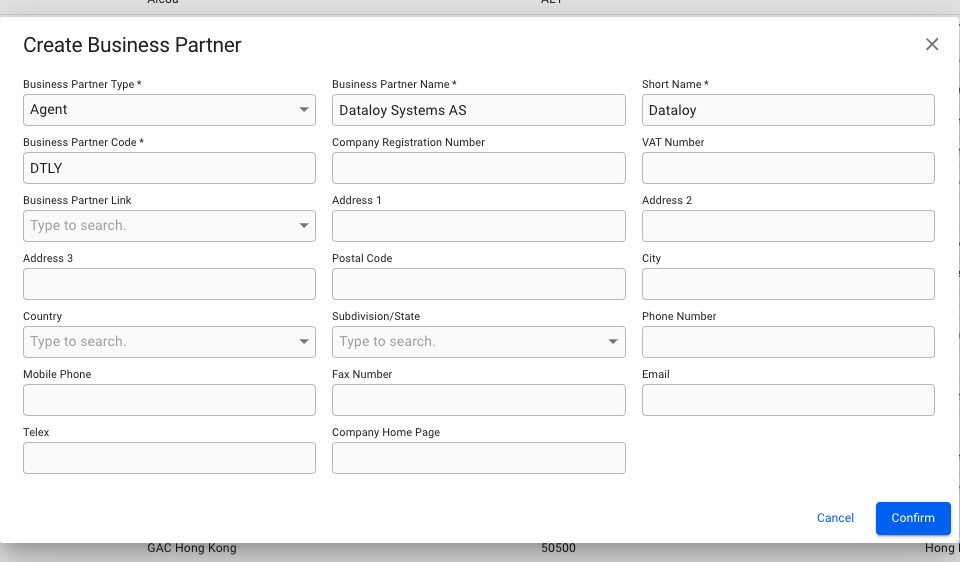
To create a new Business Partner, click the icon in the top right on the Business Partners list. This will bring up the Create Business Partner modal. The Business Partner Type, Business Partner Name, Short Name and Business Partner Code must be filled in, and click confirm.
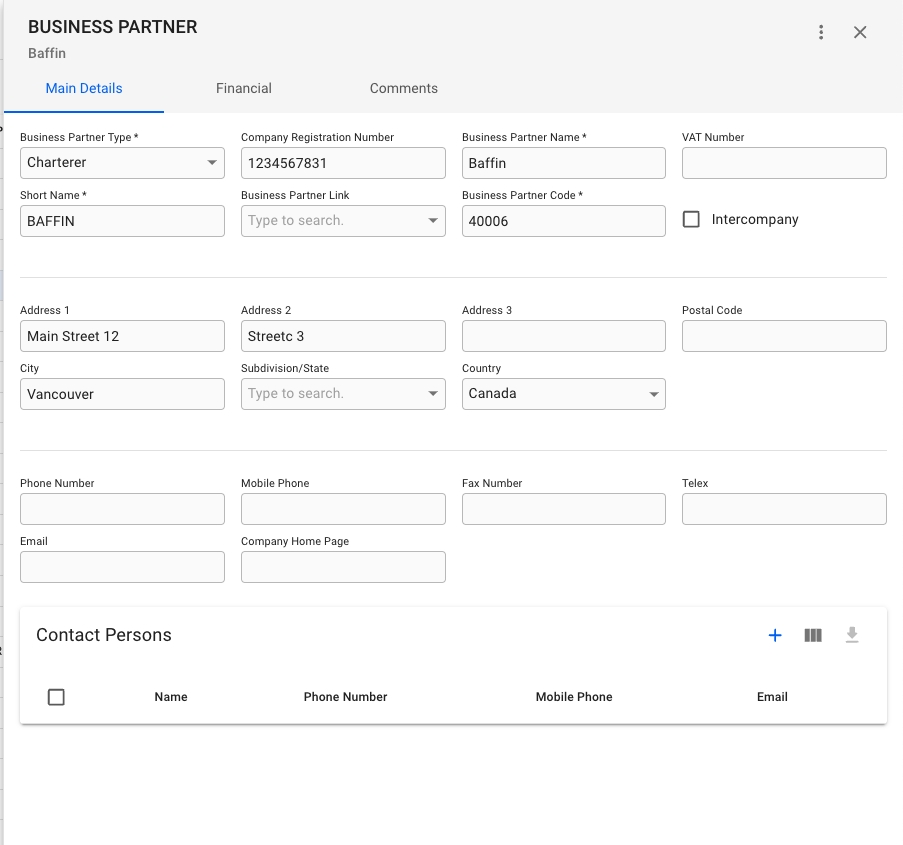
You can click on the Business Partner on the Business Partners list you want to change the details of. This will bring the Business Partner drawer.
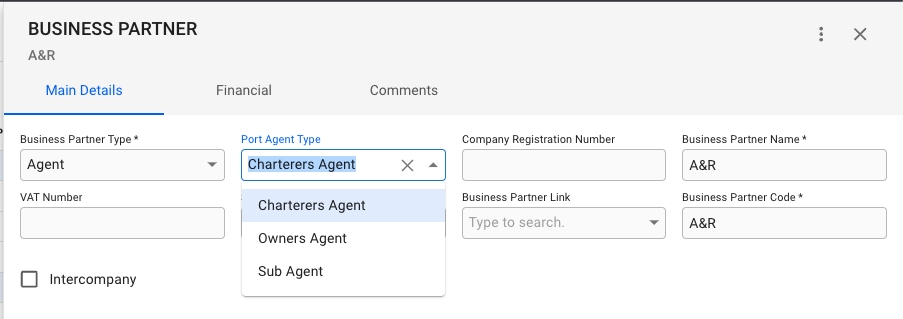
From the main details tab, you can see all the important details of a business partner. This includes Business Partner Type, Company Registration Number, Business Partner Name, VAT Number, Short Name, Business Partner Link, Business Partner Code, and indicate whether it is an Intercompany or not. You can also change the Business Partner's address, contact details and contact persons.
The field labeled "business partner type" determines the preferred role of the business partner. This selection influences in which business partner selectors the partner will appear in the system. For instance, selecting "charterer" as the type will display the partner in "charterer" fields only, but not "agent" fields. However, by clicking "see all options", all business partners can still be chosen in any selector.
When a business partner is of type Agent, it is possible to choose the Agent Type.
You can see all the important details of a business partner regarding invoices, such as Default Payment Terms, Default Baseline Term, Default Invoice Party, Default Receivable Accout, Default Payable Account, Max Advance Payment, Rating, Rating Expiry Date
You will also see here the Bank Accounts belonging to a business partner.
Lastly, you will also see a list of a business partner's outstanding invoices
An event can be used in . If the corresponding checkbox is clicked, the event will show up automatically at the specified position in the Laytime calculation module under a Cargo Port.
Port Call list and
Bunker order list and
Service order list and
Vessel report list, , and drawer
To add an already existing bank account, click on the icon in the top right of the list. This will bring up a window to select the account from a list, showing the bank, account number and currency. Click Add to add the account to the Company.
To create a new bank account, click on the button in the top right of the list. This will bring up a modal to create a brand new bank account. Fill in the required details, and click Create to add it to the Company.
A Business Partner must first be disabled. Click the button in the top right corner. Choose "Disable" option. A confirmation modal will show up, click Disable. Click again the button in the top right corner. Choose "Delete" option. A confirmation modal will also show up, click Delete.
Master Data for Taxes
In this list, you are able to view fields, such as Description, Code, Category and GL Account:
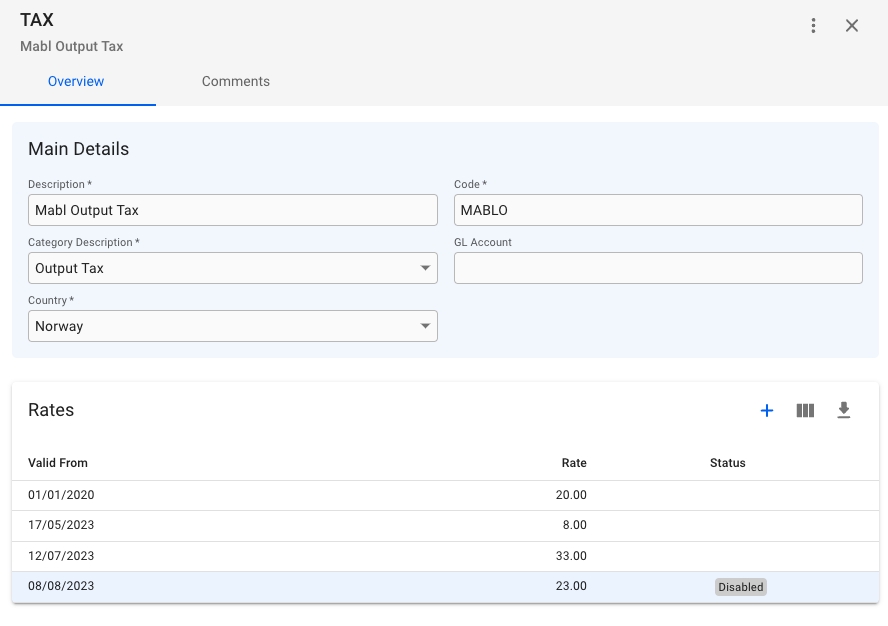
By clicking on one of the taxes on the rows, you open up a Tax drawer:
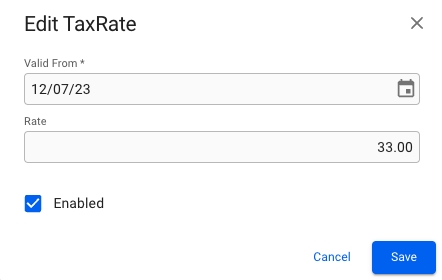
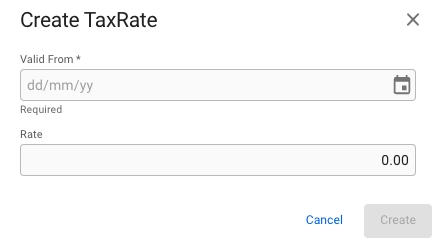
Here, you are able to edit the main details of the tax (all * fields are required), and also create or edit various Tax Rates on the tax:
If you uncheck the Enabled checkbox, the tax rate will get the status Disabled on the list.
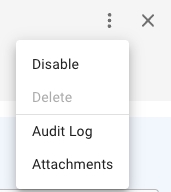
By clicking on the secondary actions button (the three dots on the top right), this menu will appear:
When disabling a tax, you are able to either delete the tax or enable it again. You can find the disable list of the taxes by filtering on Disabled on the Taxes List.
Master Data for Vessel Types
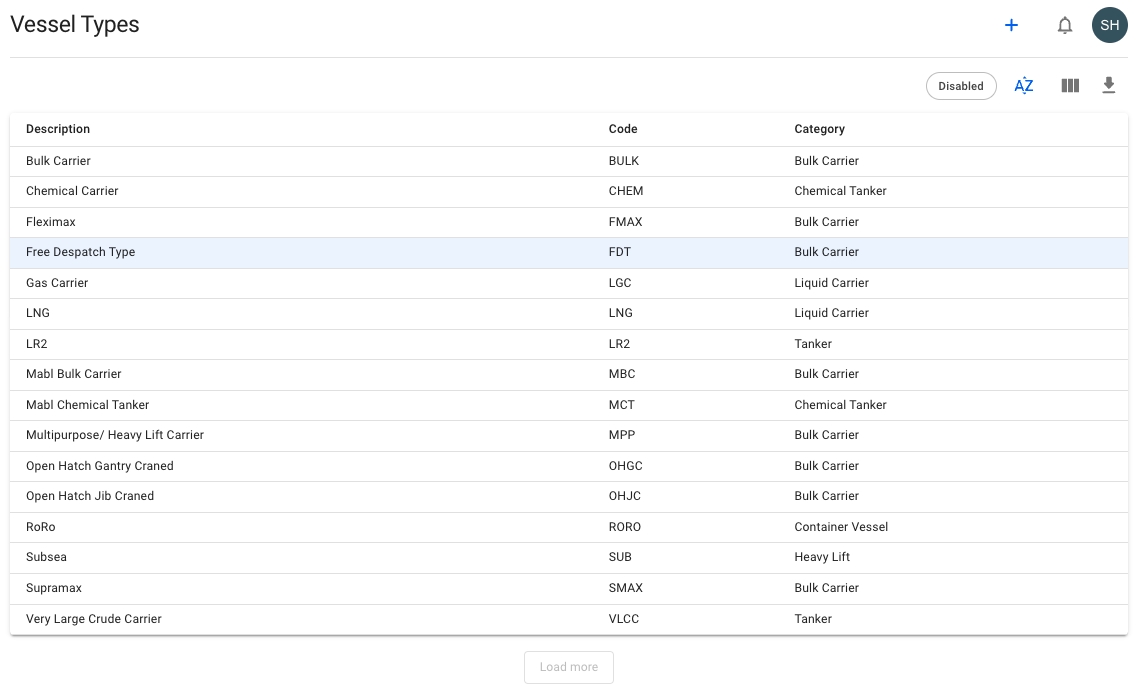
The list shows you an overview of all available Vessel Types. The usual array of list options are available, such as sorting, re-ordering, and column customisation. Clicking on a Vessel Type will open up the Vessel Type drawer.
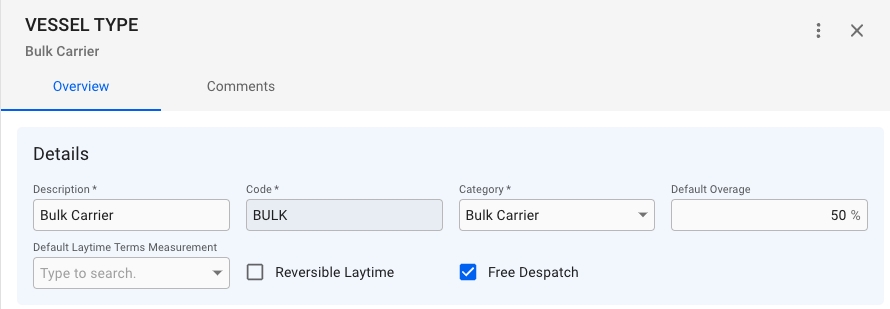
To edit a Vessel Type, click on it in the list to bring up the Vessel Type drawer. From here, you can freely change the Vessel Type data.
Cargo Ports created on a Voyage with a Vessel whose Vessel Type has "Free Despatch" ticked off, will in turn have "Free Despatch" ticked off
Overage on a Cargo on a Voyage will by default be set to the Vessel's Vessel Type "Default Overage"
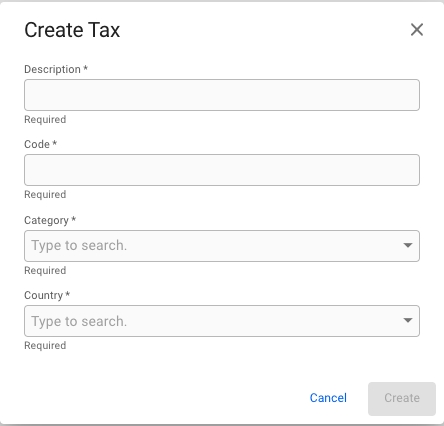
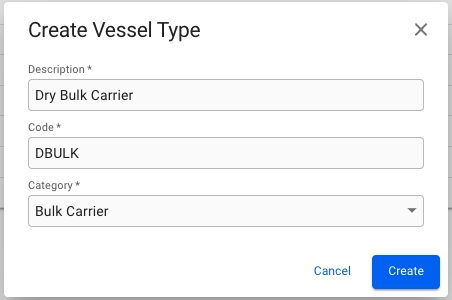
In the -action at the top-most left side of this view, you are able to create a new tax using this modal (the * are the required fields):
To create a new Vessel Type, click on the icon in the top right. This will bring up the Create Vessel Type modal. Enter the required information, and click "Create".
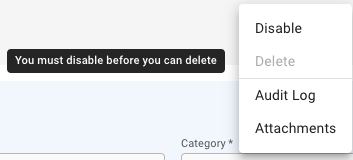
In order to delete a Vessel Type, it must first be disabled. Click the icon in the top right, and click "Disable". Once the Vessel Type has been disabled, the "Delete" button from the same menu will no longer be greyed out.
