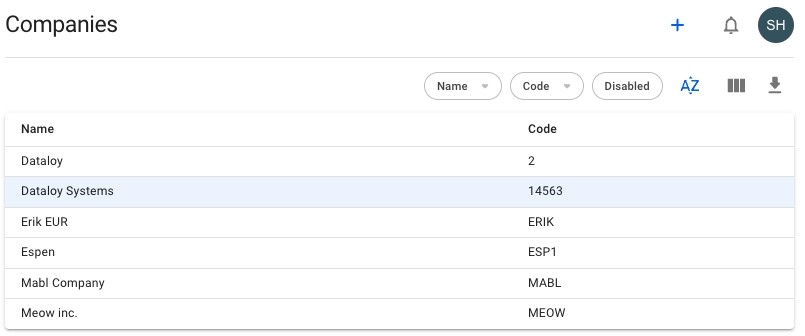
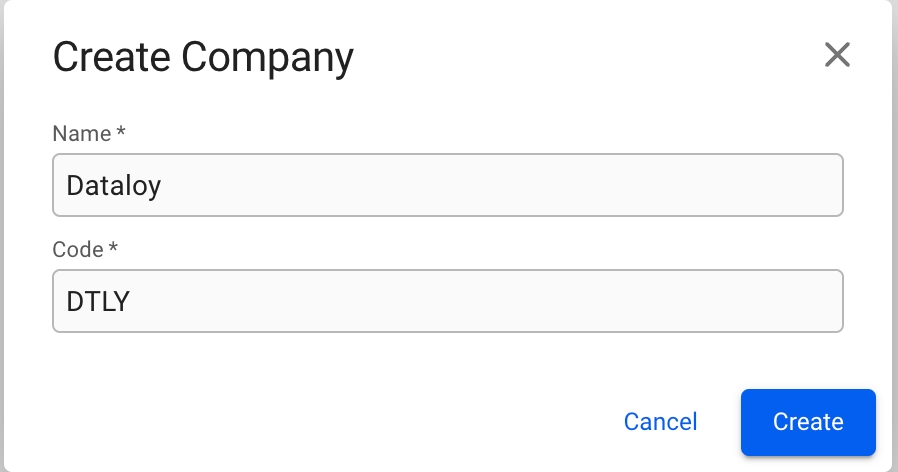
To create a new Company, click the icon in the top right on the Companies list. This will bring up the Create Company modal. Fill in company name and code, and click create.
To add or change details about a company, click on it in the Companies list. This will bring up the Company drawer.
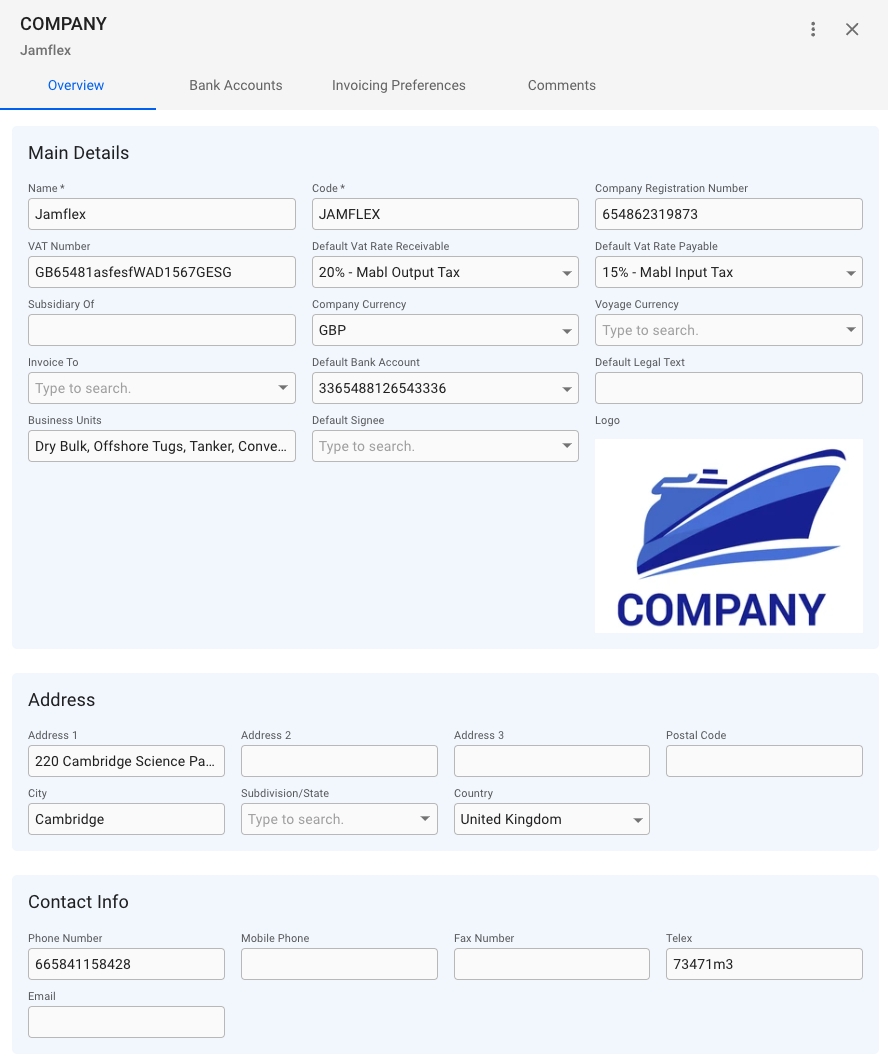
From the overview tab, you can see all the important details of a company such as Name, Code, Company Registration Number, VAT Number, different currencies, Business Units and more:
The Default Signee field in the Main Details section will sign invoices by the company with the users signature, should it have one.
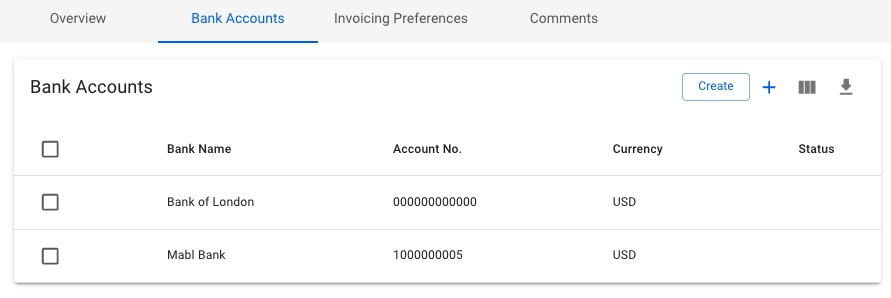
The tab contains a list of all the Bank Accounts belonging to the company. The usual list operations are available, with two minor changes:
We are in the process of migrating the invoice settings from the Company drawer, to the System Settings Invoicing Preferences tab. Until this process is complete, some settings will reside under the Company drawer, others in the System Settings -> Invoicing Preferences tab.
More details can be found on the Invoicing Preferences page.
The invoice preferences tab has an overview of all toggleable options for printing any invoice issues by the company. Any combination of options can be enabled, or disabled, and then reflected on the print out. The tab is divided into Header, Body and Footer sections, with their respective toggleable options.
If the company has a Company Logo uploaded to the system, it will show up to the left section of the Header section, below the "Header" title, otherwise show as "empty".
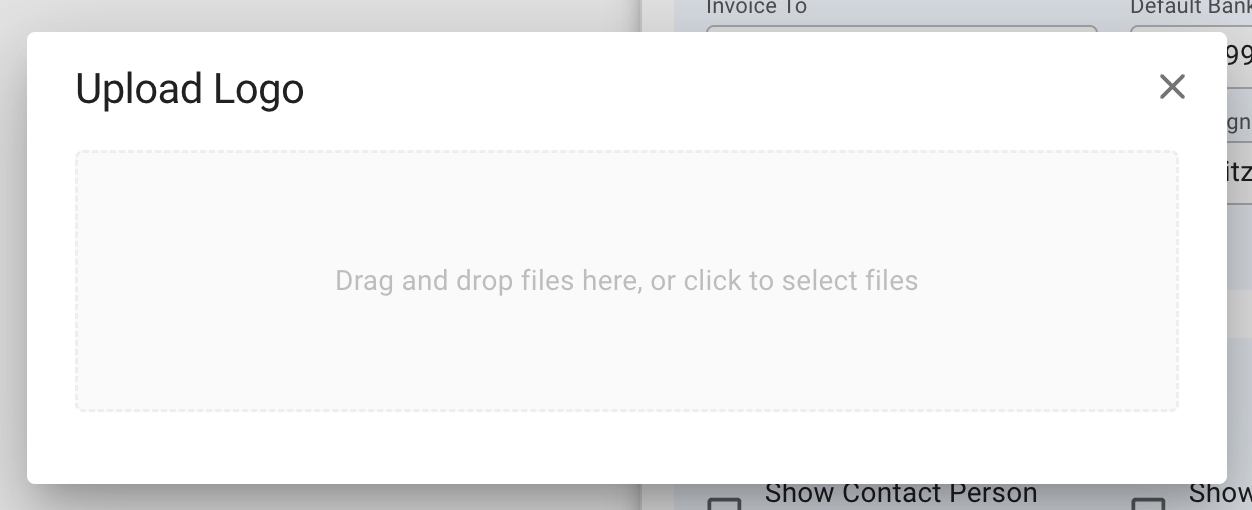
To upload or replace a Company Logo, click on the "Upload Logo" button to open up the dialogue box.
A Company only has one logo. Uploading a new logo to a Company with an already existing logo, will replace the old logo.
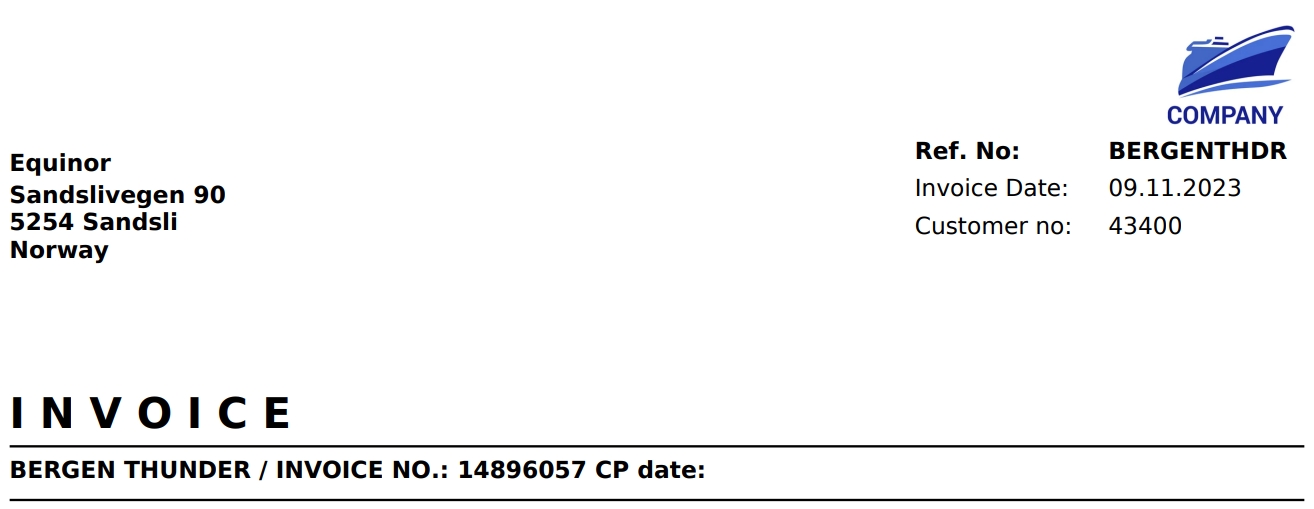
Show Contact Person On Invoices
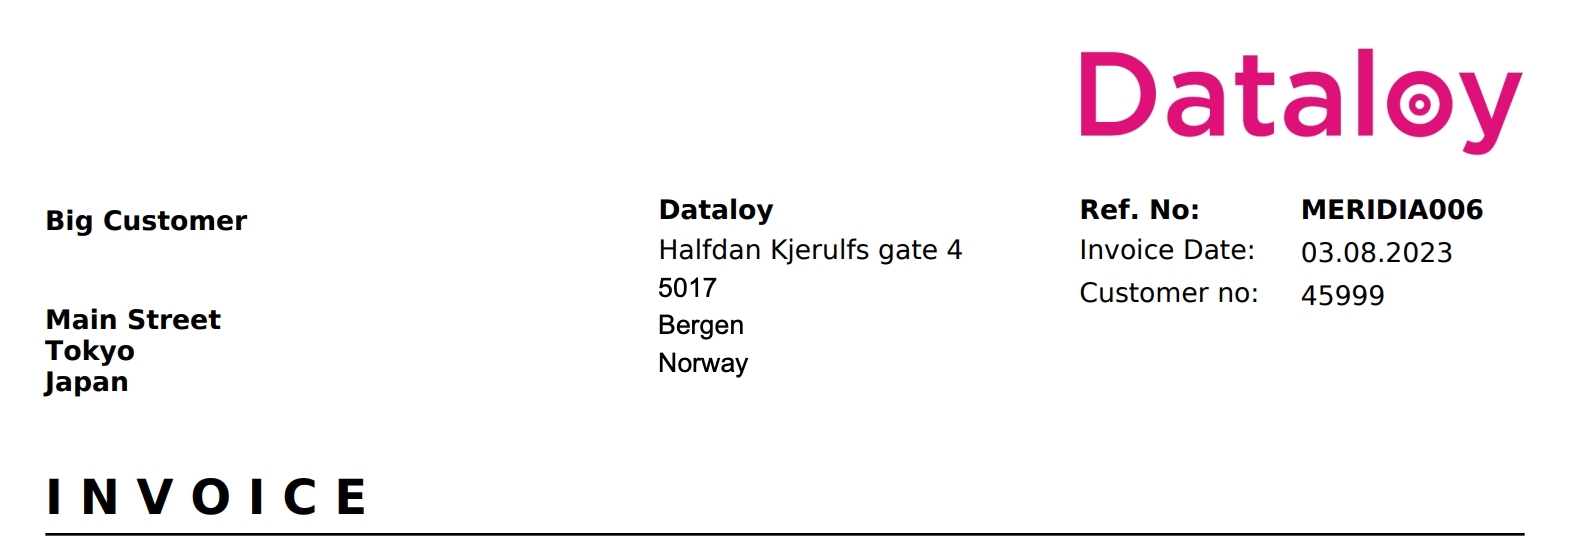
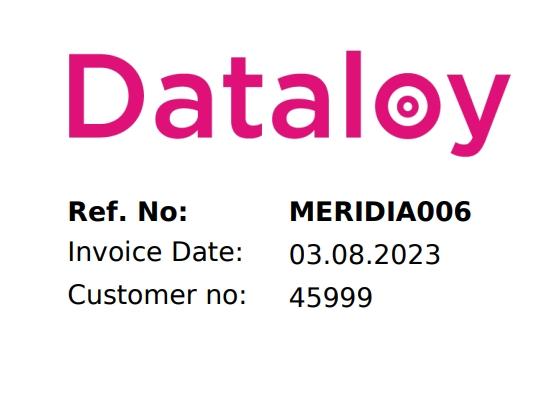
Shows the responsible contact person in the reference section in the top right of the invoice.
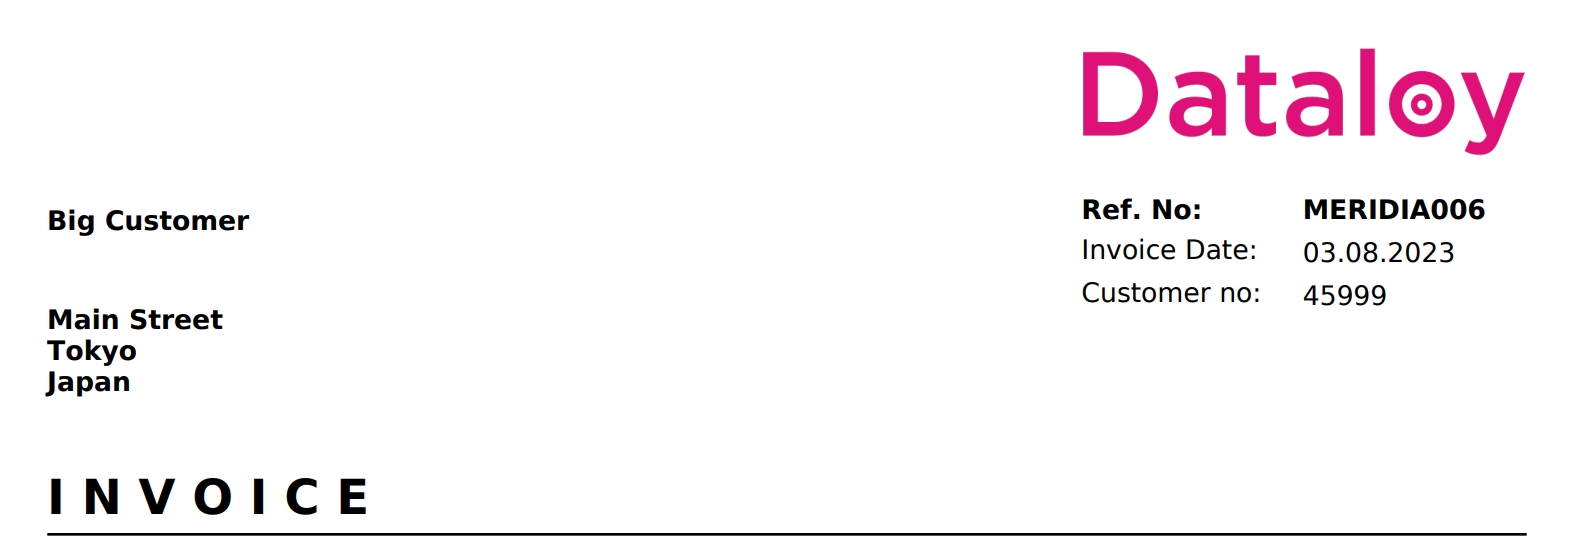
Show Company Address In Header *
Displays the issuing company's address in the top of the invoice, instead of the bottom.
Show External Document No *
Shows the data entered in the "External Document No" on the document above the payment details in the invoice.
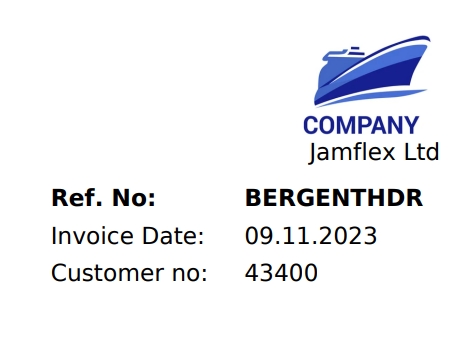
Show Company Name Under Logo
Displays the issuing company's name underneath the logo in the header.
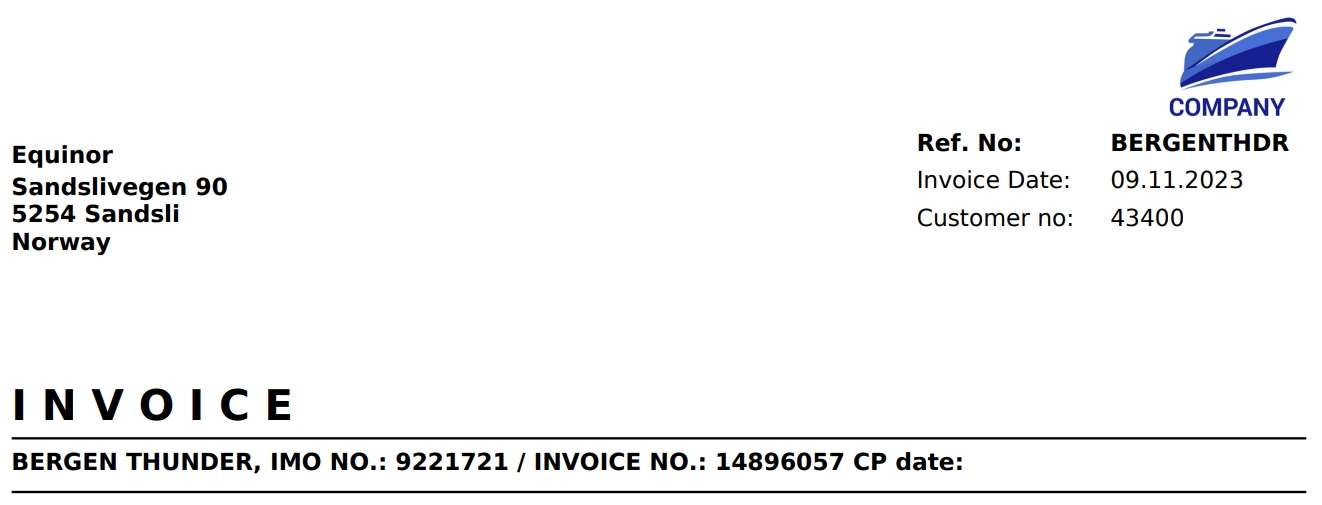
Show IMO On Invoice *
Displays the vessels IMO number next to it's name.
Show Business Partner VAT Number *
Shows the charterers VAT number underneath the payment details.
Show Issuing Company VAT Number *
Shows the issuing company's VAT number underneath the payment details.
Sum Commission On Hire Invoices
Toggles summing of similar commissions on invoices that contains a charter hire line and the company is listed as issuing company.
Options marked with * have no effect when using the new invoice template. For more details, see the Printing Invoices page.
Another part of VMS's new invoicing preferences settings can be found under Setup -> System Settings -> Invoicing Preferences: Invoicing Preferences.
For companies registered in EU, you can now modify the Tax rules for Freight invoices. You can add the Tax rule in the Tax Description field, along with the other specifications, which can be done separately in the Taxes module. This Tax then has to be connected to a Company. What is specified in Description will reflect on the invoice, but based on our various set of rules. Scroll through the demo below to see an illustration of each Tax rule, along with how this line will look on the printout. For all scenarios, you firstly have to have the Issuing Company in EU, have a company on the Business Partner, and have at least one Freight invoice (click on the pictures for better view):
If the Business Partner's country and the Issuing Company's country are equal, and there exists a VAT with Rate 0% for that country, then this will be printed out:
Remember that this line is your specified Tax description, which should be linked to the Issuing Company's Vat Rate(s).
If the Business Partner's country and the Issuing Company's country are equal and there does NOT exist a VAT with Rate 0% for that country code, then this will be printed out:
Note that this line is predefined.
If the Business Partner's company is in the EU, but not in the same country as the Issuing Company and if additionally the Business Partners VAT Number has a value, then this will be printed out:
Note that this line is predefined.
If the Issuing Company is in the EU and you do not meet the criteria of Rule 1, Rule 2 and Rule 3, then this will be printed out:
Note that this line is predefined.
If you don't have the EU Tax Automation property set up (see the warning below), your invoice does not have any document line for the account Freight, or your issuing company is not in the EU (aka you don't meet any of the previous criteria), then the printout will look like before:
Note that this is the default setup.
The line(s) is placed below the Total Amount, and above Beneficiary Name.
A Dataloy Property to enable the EU Tax Automation has to be set on your environment first! The developers can help set it up for you.
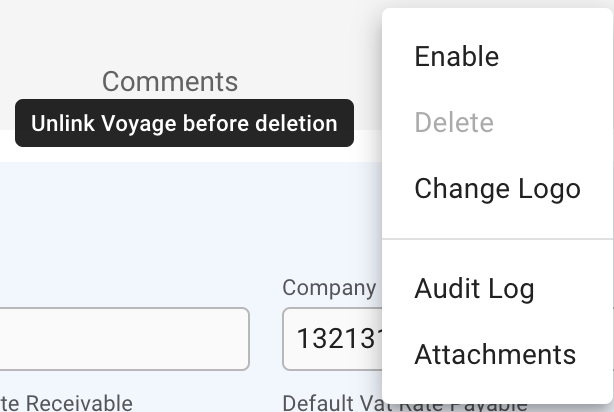
Deleting a Company requires that the Company is both disabled, and has no link to any Voyage.
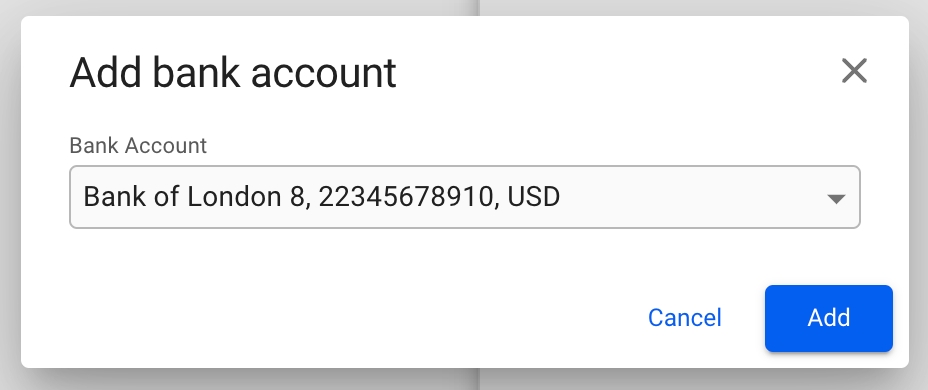
To add an already existing bank account, click on the icon in the top right of the list. This will bring up a dialog box to select the account from a list, showing the Bank Name, Account Number and Bank Currency. Click Add to add the account to the Company:
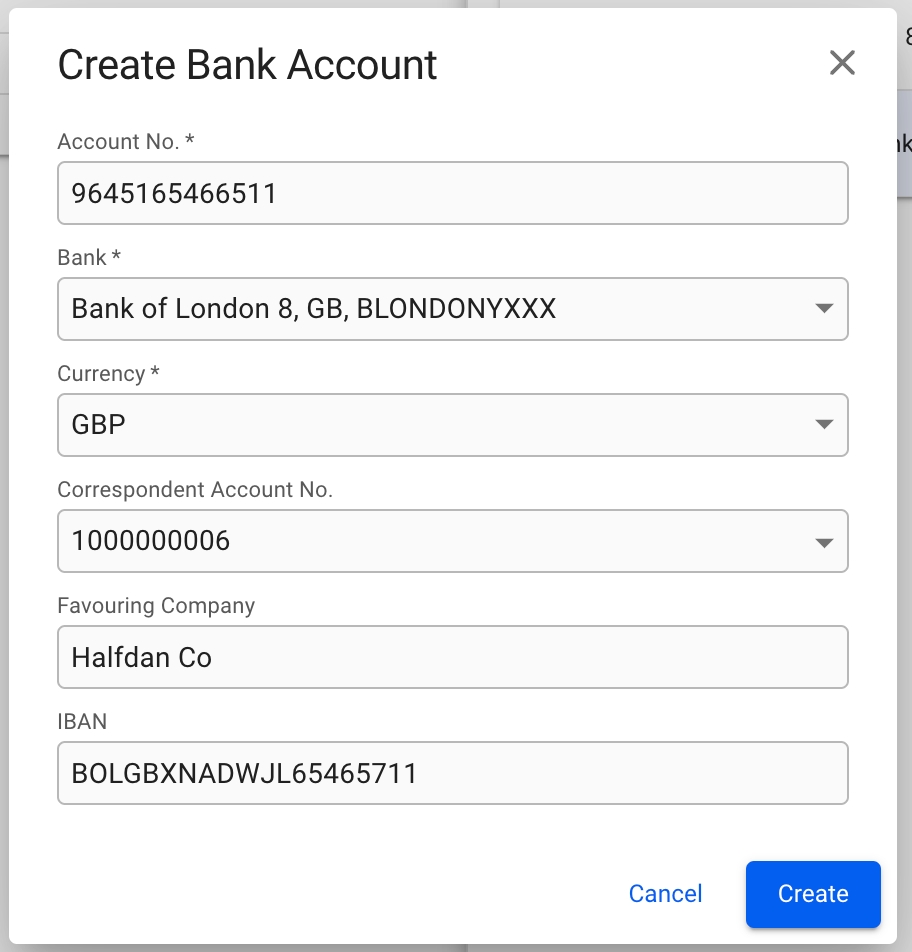
To create a new Bank Account, click on the button in the top right of the list. This will bring up a modal to create a brand new bank account. Fill in the required details, and click Create to add it to the Company:
Click the button in the top right corner of the Company drawer to bring up the menu. Then click the "Disable" option to first disable the Company. Next, open the menu again, and click "Delete".
