Loading...
Loading...
Loading...
Loading...
Loading...
Loading...
Open the Bills of Lading module in the Operations section.
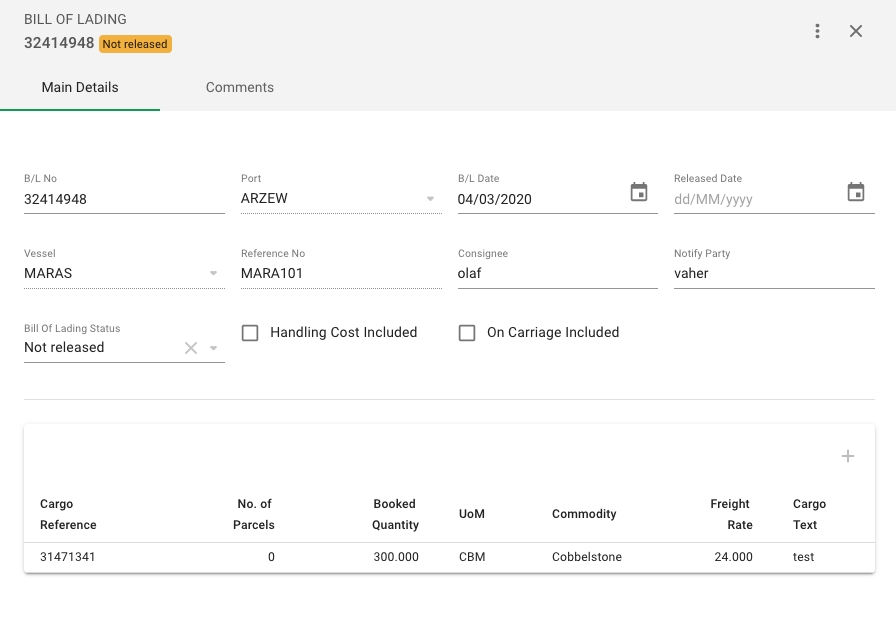
Open the Bill of Lading drawer.
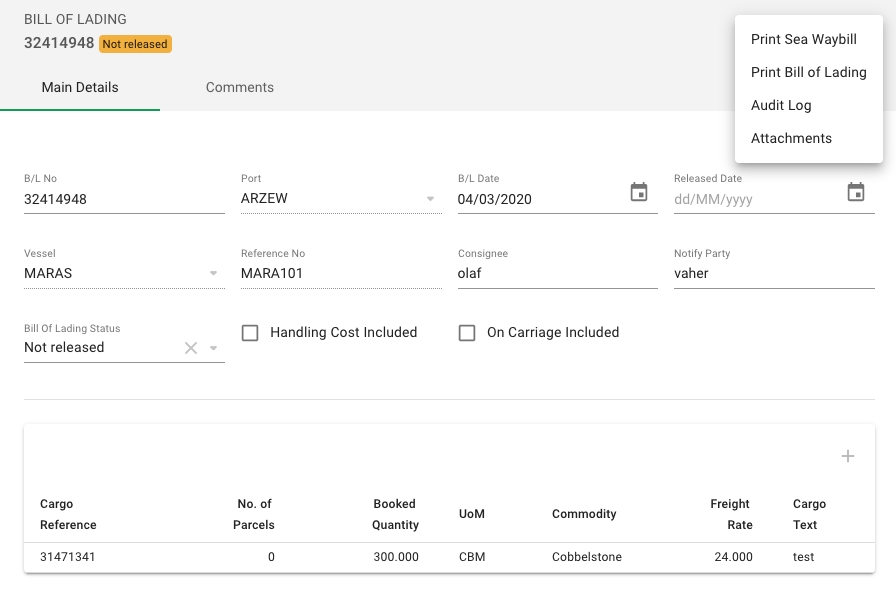
Click the more iconat top right.
Click Delete.
Click Confirm to delete the bill of lading.
You cannot delete a bill of lading if it has status "released". You must first change the status to "not released".
Select attachments in the drop-down menu
Once the attachments is clicked in the drop-down menu this modal will appear and you can drag and drop into the grey area, or simply click the grey area to browse your computer for files to add as attachments
If there are attachments they will appear in the table of the modal
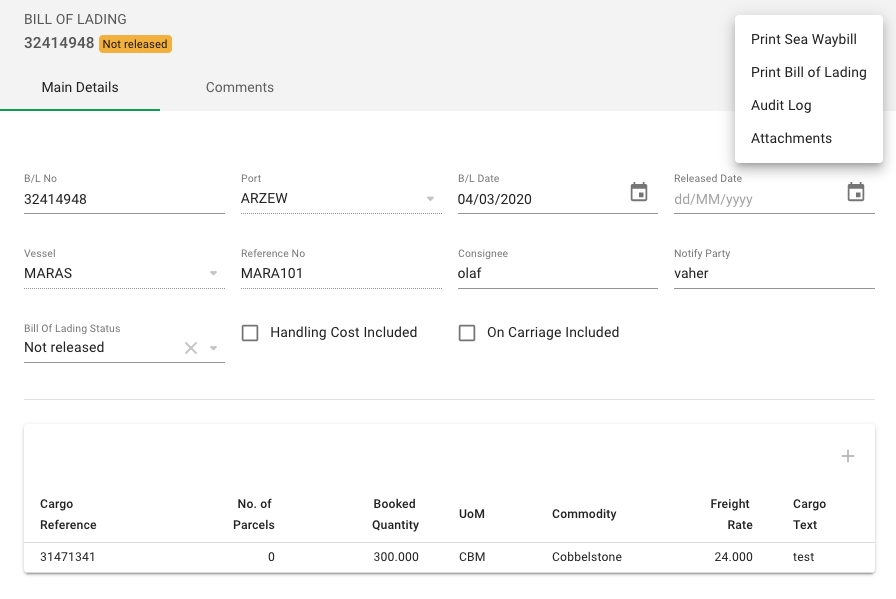
All fields except Vessel and Port can be edited from the drawer.
By clicking the cargo in the bottom table a modal will open where you can edit the cargo itself, and maintain relevant figures that will appear on the B/L when you print it.
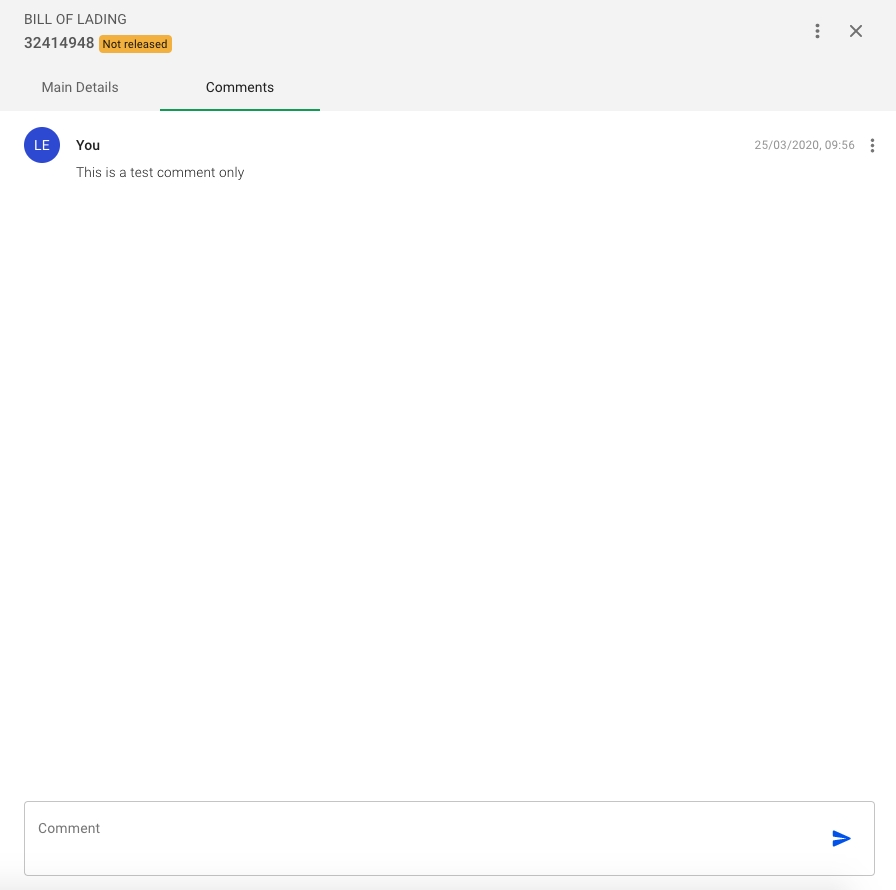
You can enter comments to the B/L in the system - these will not appear on the printed version. Any comments that are added can be edited or deleted by clicking the three dots to the right of the comment.
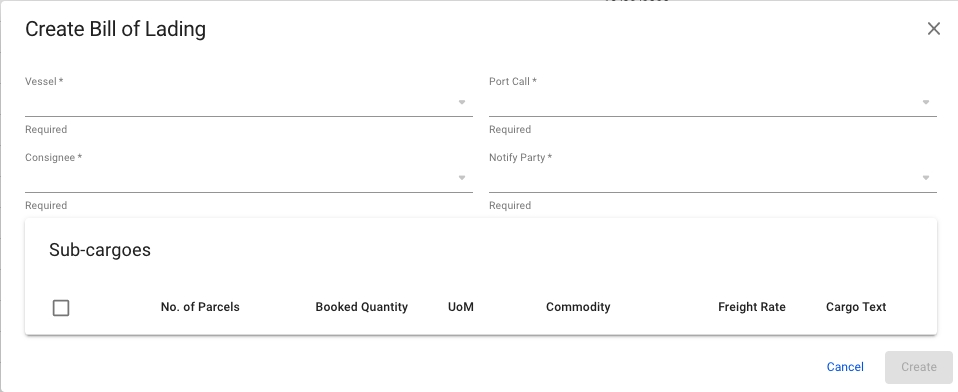
In the top right corner in the Bills of Lading screen, click the createicon. You will then see a modal where you need to enter the required information in order to create a Bill of Lading.
Start typing in vessel name and select from the drop down. Once the appropriate vessel is selected you may select port call from the drop down. The port call drop down will show discharge ports and voyage reference for the selected vessel. Choose the correct voyage/discharge port.
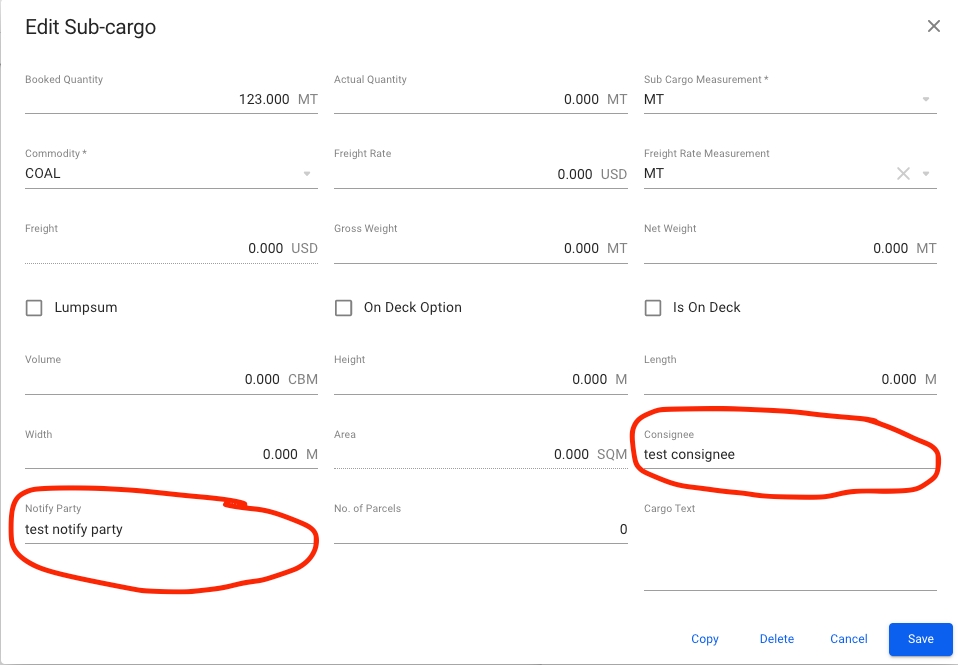
Next you need to choose Consignee and Notify party from the drop-downs. These fields are retrieved from the sub-cargo level of a cargo. Please see screenshot below from the sub-cargo modal where the two fields for consignee and notify party is highlighted in red:
When the required fields are filled in, you select the corresponding sub-cargo(s) from the table, and click create in the Bills of Lading modal.
In the drop-down menu, click "Print Sea Waybill" and a new window will open with a printable version of the Bill of Lading
Click the "Print Bill of Lading" and a new window with a printable version of the Bill of Lading will open


